Spring Boot 2 教程:WebFlux 整合 Redis(七)
文章工程:
JDK 1.8
Maven 3.5.2
Spring Boot 2.1.3.RELEASE
工程名:springboot-webflux-6-redis
工程地址:见文末
前言
上一讲,讲了如何整合 MongoDB,这里继续讲如何操作 Redis 这个数据源。那什么是 Reids?
Redis 是一个高性能的 key-value 数据库。GitHub 地址:https://github.com/antirez/redis 。Github 是这么描述的:
Redis is an in-memory database that persists on disk. The data model is key-value, but many different kind of values are supported: Strings, Lists, Sets, Sorted Sets, Hashes, HyperLogLogs, Bitmaps.
Redis 是内存式数据库,存储在磁盘。支持的数据类型很多:Strings, Lists, Sets, Sorted Sets, Hashes, HyperLogLogs, Bitmaps 等。
安装简易教程(适用 Mac/Linux)
下载并解压
编译安装
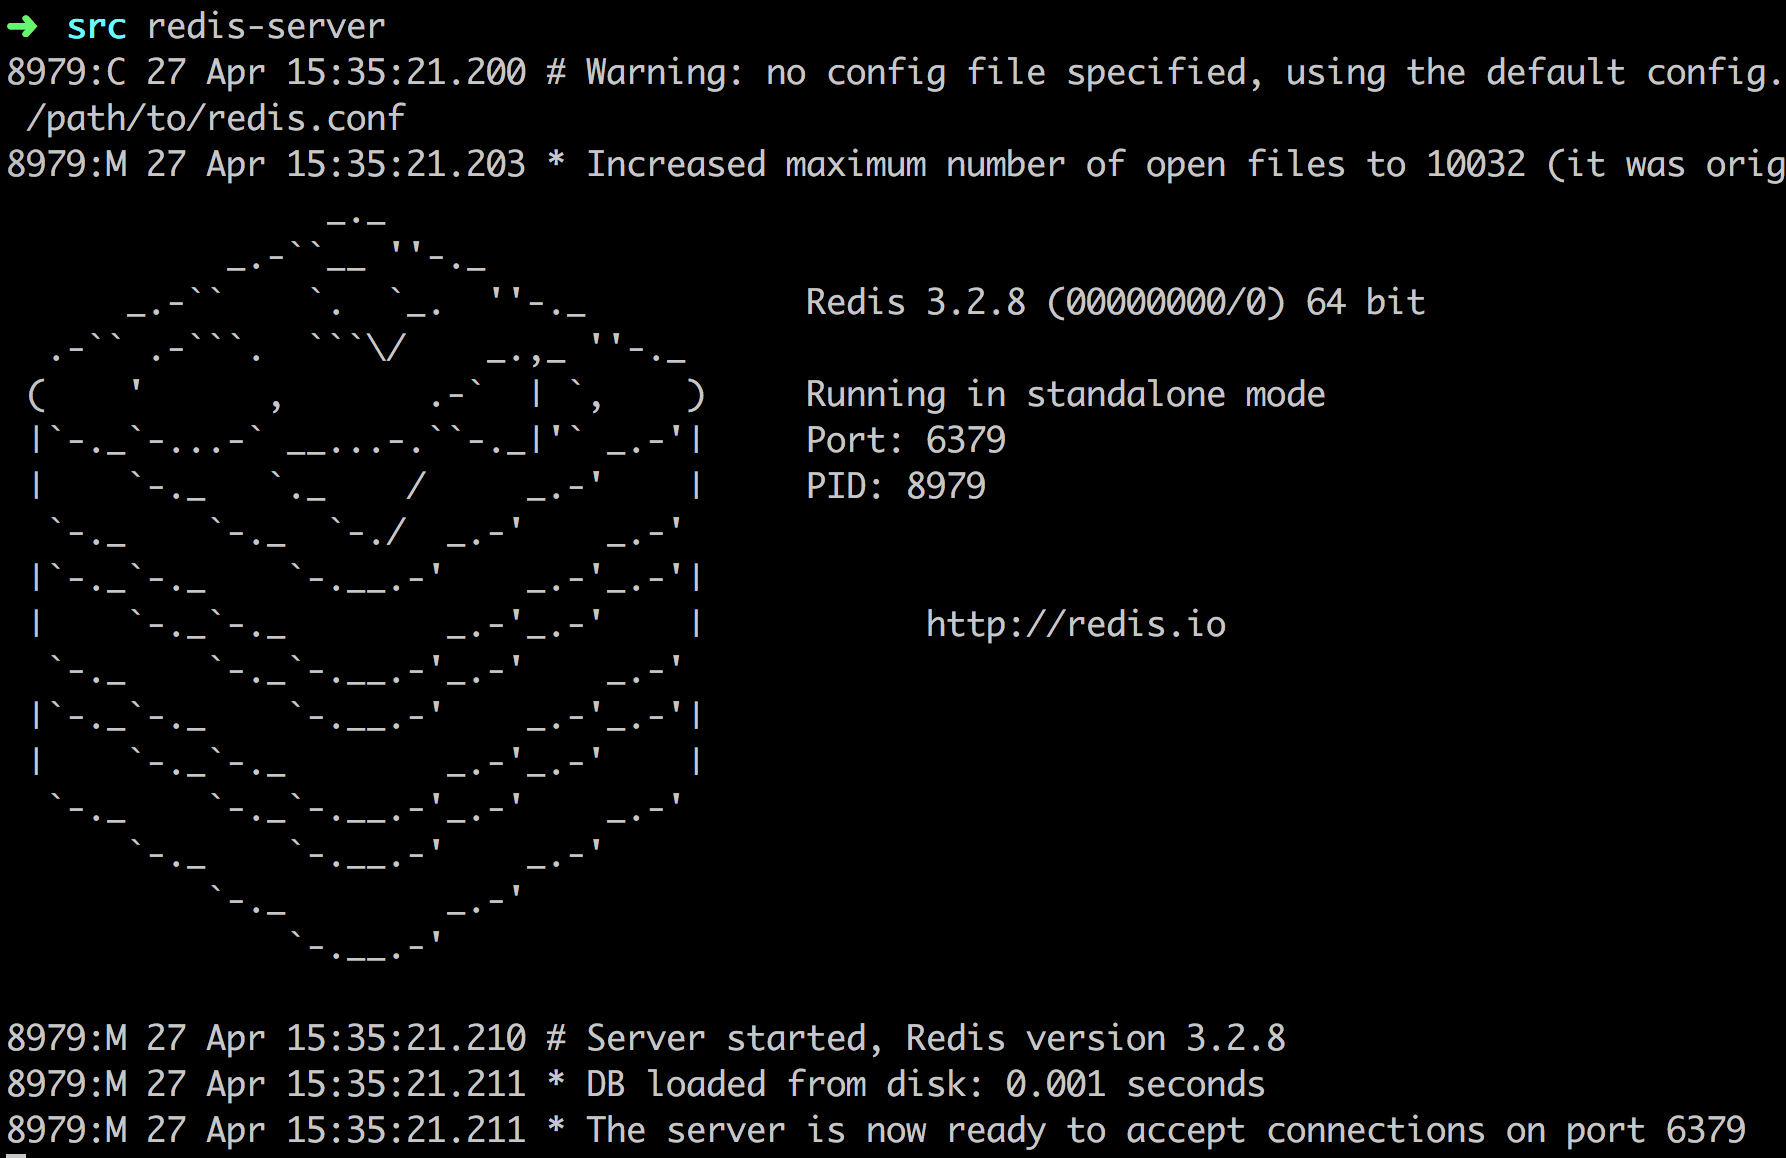
启动 Redis
如果需要运行在守护进程,设置 daemonize 从 no 修改成 yes,并指定运行:redis-server redis.conf
结构
类似上面讲的工程搭建,新建一个工程编写此案例。工程如图:
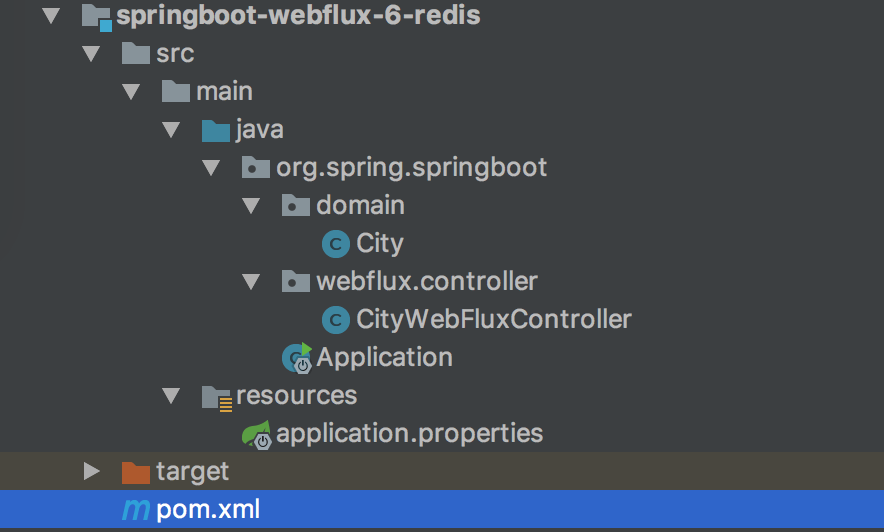
目录核心如下
pom.xml maven 配置
application.properties 配置文件
domain 实体类
controller 控制层,本文要点
新增 POM 依赖与配置
在 pom.xml 配置新的依赖:
类似 MongoDB 配置,在 application.properties 配置连接 Redis :
默认 密码为空,这里注意的是连接超时时间不能太少或者为 0 ,不然会引起异常 RedisCommandTimeoutException: Command timed out。
对象
修改 org.spring.springboot.domain 包里面的城市实体对象类。城市(City)对象 City,代码如下:
值得注意点:
@Id 注解标记对应库表的主键或者唯一标识符。因为这个是我们的 DO ,数据访问对象一一映射到数据存储。
City 必须实现序列化,因为需要将对象序列化后存储到 Redis。如果没实现 Serializable ,会引出异常:
java.lang.IllegalArgumentException: DefaultSerializer requires a Serializable payload but received an object of type如果不是用默认的序列化,需要自定义序列化实现,只要实现 RedisSerializer 接口去实现即可,然后在使用 RedisTemplate.setValueSerializer 方法去设置你实现的序列化实现。支持 JSON、XML 等。
控制层 CityWebFluxController
代码如下:
代码详解
使用 @Autowired 注入 RedisTemplate 对象。这个对象和 Spring 的 JdbcTemplate 功能十分相似,RedisTemplate 封装了 RedisConnection,具有连接管理、序列化和各个操作等。还有针对 String 的支持对象 StringRedisTemplate。
删除 Redis 某对象,直接通过 key 值调用 delete(key)。
Redis 操作视图接口类用的是 ValueOperations,对应的是 Redis String/Value 操作。get 是获取数据;set 是插入数据,可以设置失效时间。这里设置的失效时间是 60 s。
还有其他的操作视图,ListOperations、SetOperations、ZSetOperations 和 HashOperations 。
运行工程
一个操作 Redis 工程就开发完毕了,下面运行工程验证下。使用 IDEA 右侧工具栏,点击 Maven Project Tab ,点击使用下 Maven 插件的 install 命令。或者使用命令行的形式,在工程根目录下,执行 Maven 清理和安装工程的指令:
在控制台中看到成功的输出:
在 IDEA 中执行 Application 类启动,任意正常模式或者 Debug 模式。可以在控制台看到成功运行的输出:
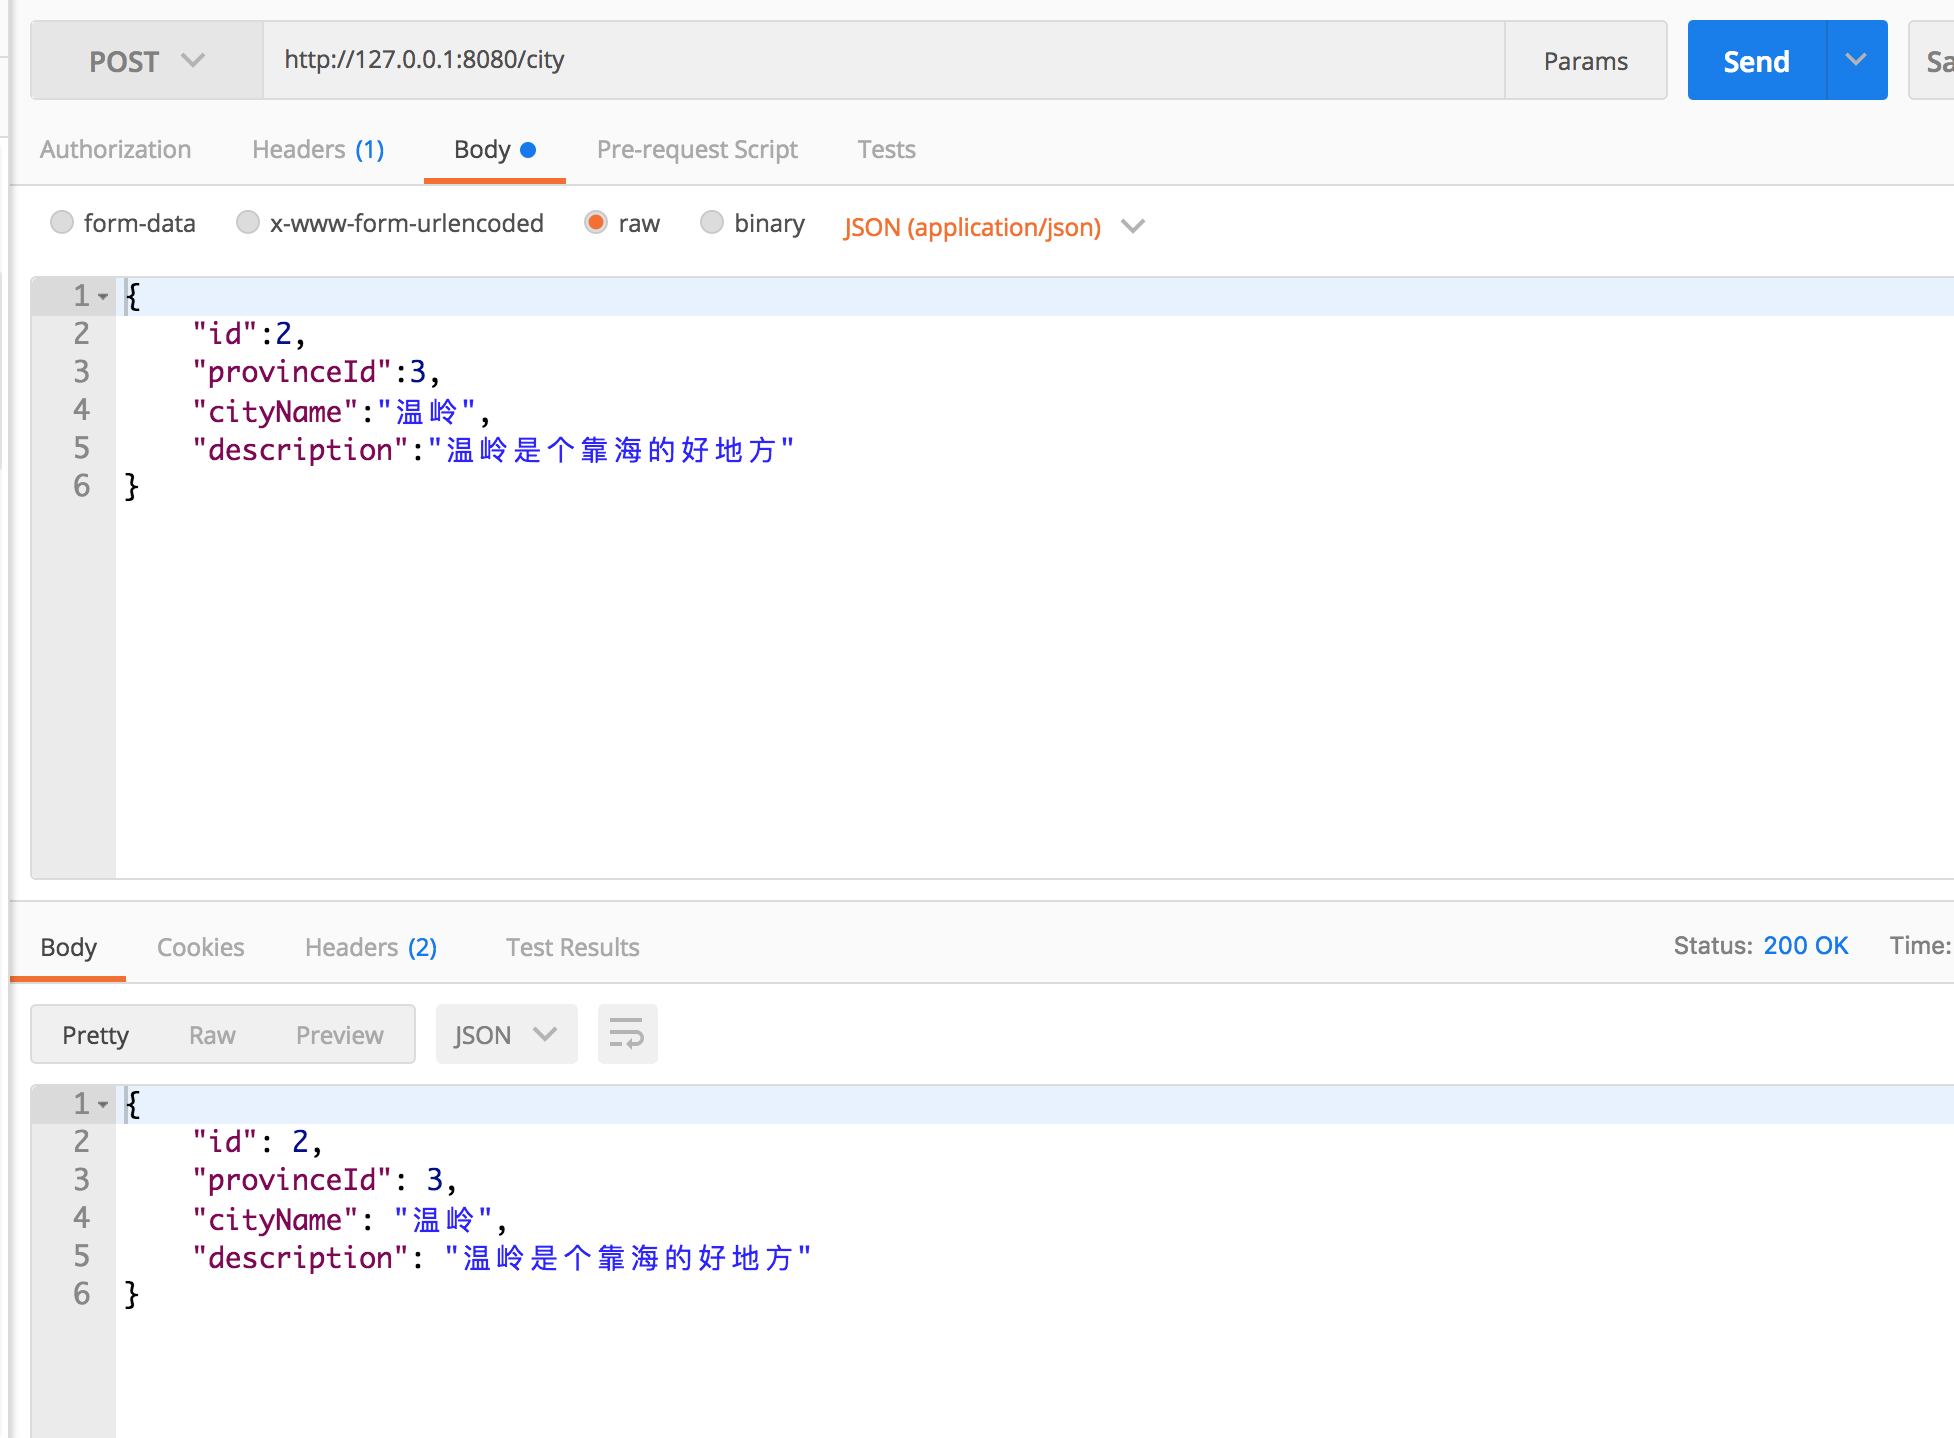
打开 POST MAN 工具,开发必备。进行下面操作:
新增城市信息 POST http://127.0.0.1:8080/city
获取城市信息 GET http://127.0.0.1:8080/city/2
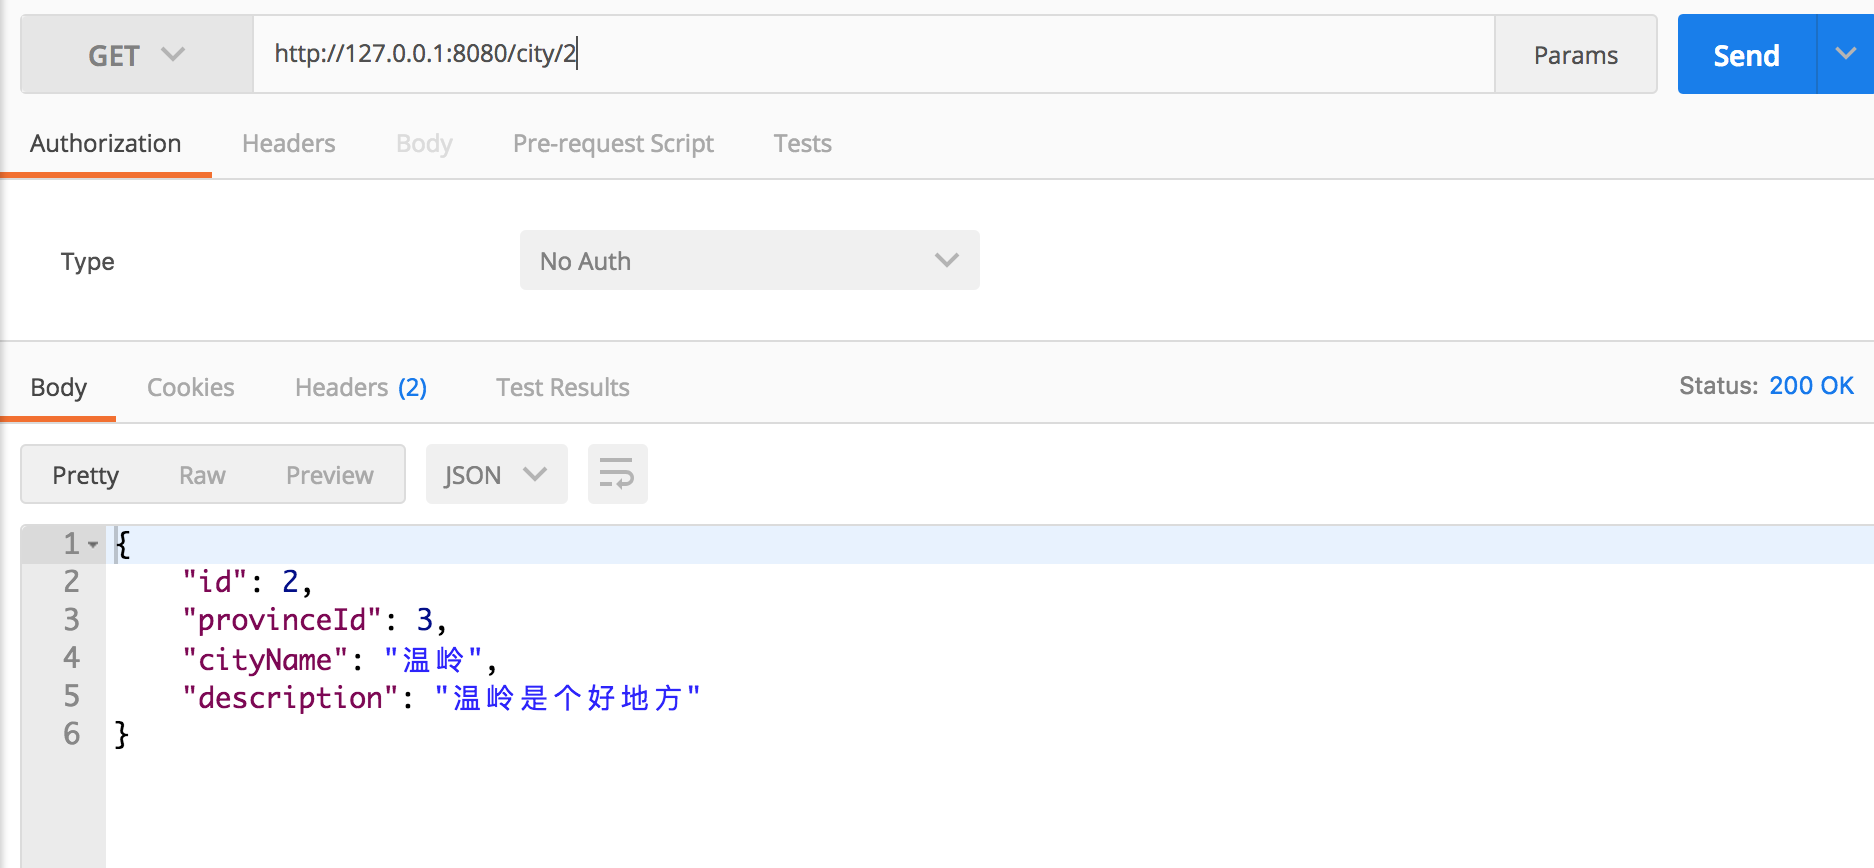
如果等待 60s 以后,再次则会获取为空。因为保存的时候设置了失效时间是 60 s。
总结
这里,探讨了 Spring WebFlux 的如何整合 Redis。介绍了如何通过 RedisTemplate 去操作 Redis。因为 Redis 在获取资源性能极佳,常用 Redis 作为缓存存储对象。下面我们利用 Reids 实现缓存操作。
代码 GiHub :https://github.com/JeffLi1993/springboot-learning-example
系列教程目录
《01:WebFlux 系列教程大纲》
《02:WebFlux 快速入门实践》
《03:WebFlux Web CRUD 实践》
《04:WebFlux 整合 Mongodb》
《05:WebFlux 整合 Thymeleaf》
《06:WebFlux 中 Thymeleaf 和 Mongodb 实践》
《07:WebFlux 整合 Redis》
《08:WebFlux 中 Redis 实现缓存》
《09:WebFlux 中 WebSocket 实现通信》
《10:WebFlux 集成测试及部署》
《11:WebFlux 实战图书管理系统》
代码示例
本文示例读者可以通过查看下面仓库的中的模块工程名: 2-x-spring-boot-webflux-handling-errors:
Github:https://github.com/JeffLi1993/springboot-learning-example
Gitee:https://gitee.com/jeff1993/springboot-learning-example
如果您对这些感兴趣,欢迎 star、follow、收藏、转发给予支持!
参考资料
Spring Boot 2.x WebFlux 系列:https://www.bysocket.com/archives/2290
spring.io 官方文档

还未添加个人签名 2018.10.29 加入
我是 泥瓦匠,公号「程序员泥瓦匠」。一枚技术程序员草根,坚持分享编程,算法,Java 等干货教程和代码案例。打算起手不凡写出鸿篇巨作的人,往往坚持不了完成第一章节。


评论