
手把手教你将 DeepSeek 集成到 IDEA!开发效率翻了 5 倍!
最近 DeepSeek 非常的火爆,而我们开发中常用的是 IDEA,如果将 DeepSeek 集成到 IDEA 中,一定会大大提高开发效率。
Let'go!
一,安装 IDEA
前面的话,我整理了一套软件的安装,平时我开发都是用的这一套软件。
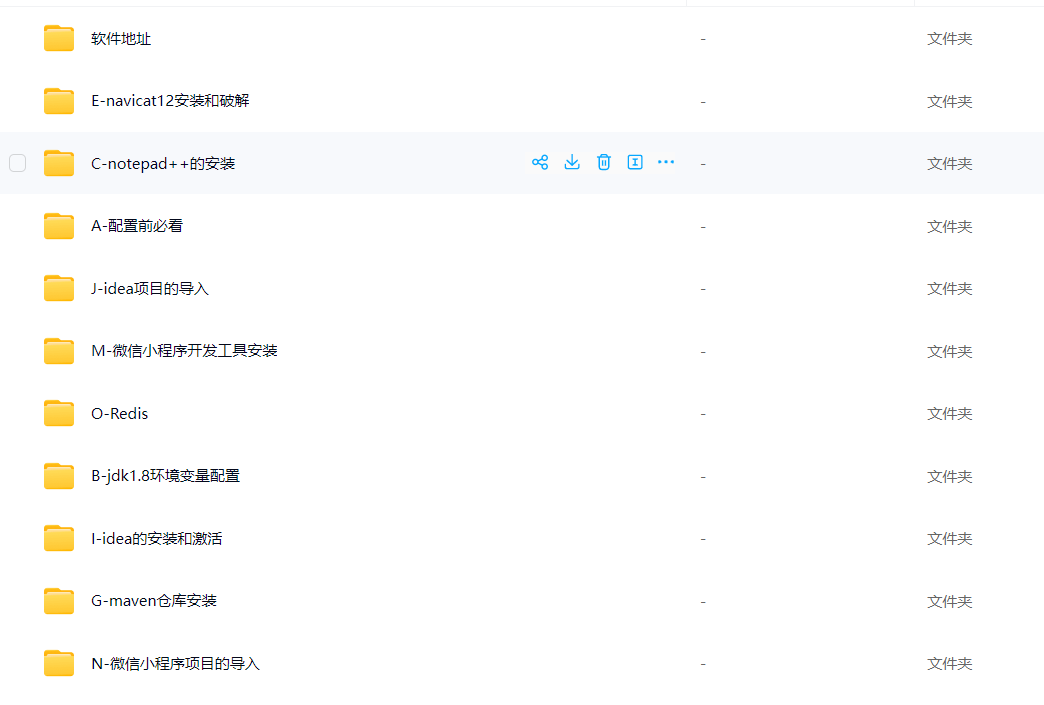
对于 IDEA 的安装,可以去官网进行下载:
https://www.jetbrains.com.cn/idea/
二,安装 CodeGPT
CodeGPT 的安装,有两种方式,第一是线上的安装,第二是本地离线安装。
线上的安装,可以直接在商城中进行 install。
具体步骤:
打开 Intelli IDEA 并进入 File -> settings (Windows/Linux) 或者 Intelli] IDEA -> preferences,找到 plugins 选项卡。
2.在 Plugins 页面点击右侧的 Marketplace 按钮,在搜索框内输入"CodeGPT" 进行查找。
3.如果找到了对应的插件,则点击 Install 来下载并安装该插件;如果没有发现官方渠道提供的 CodeGPT 插件。
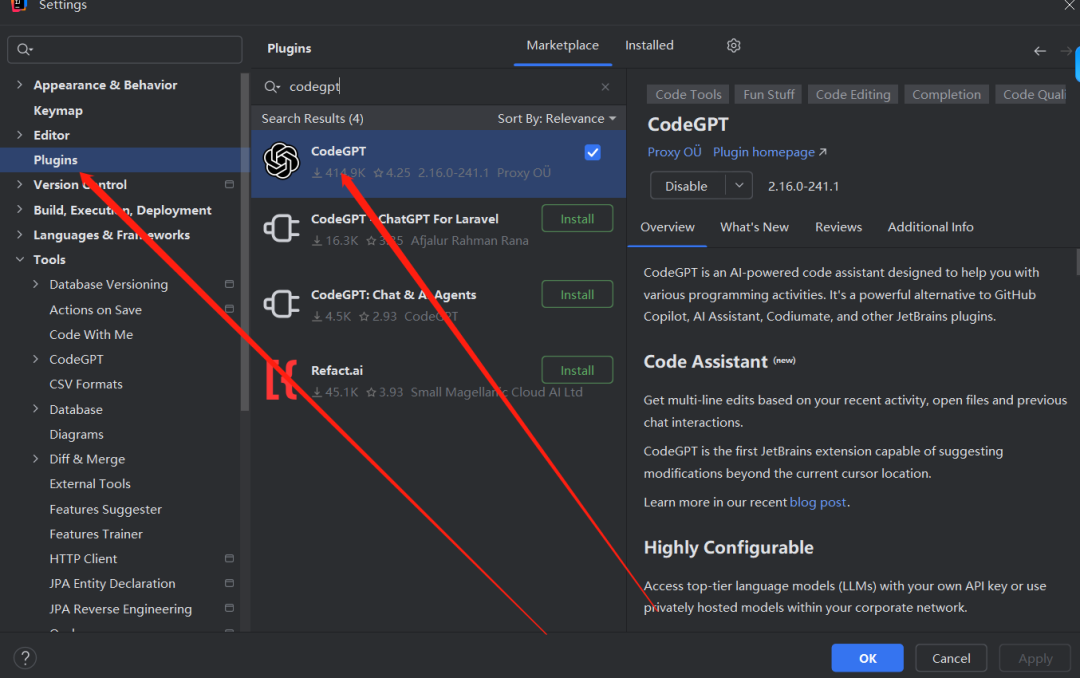
当然有些小伙伴的 IDEA 中没有这个插件,可以本地安装。选择 Install Plugin from Disk

4,安装完成后重启 IDE 使更改生效。
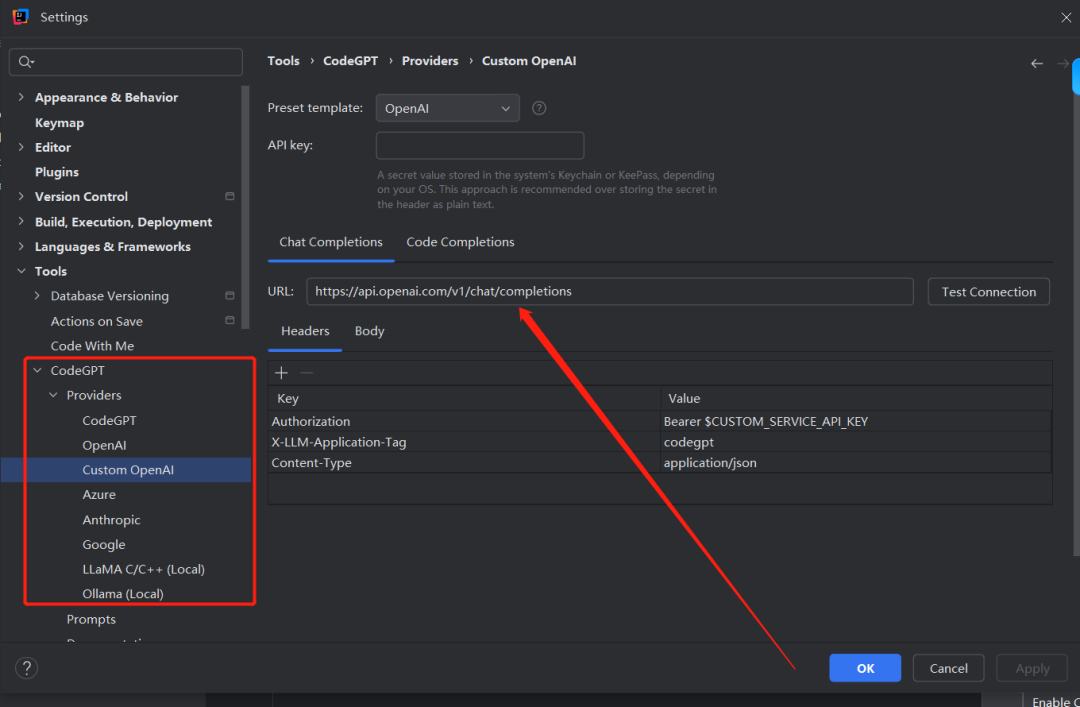
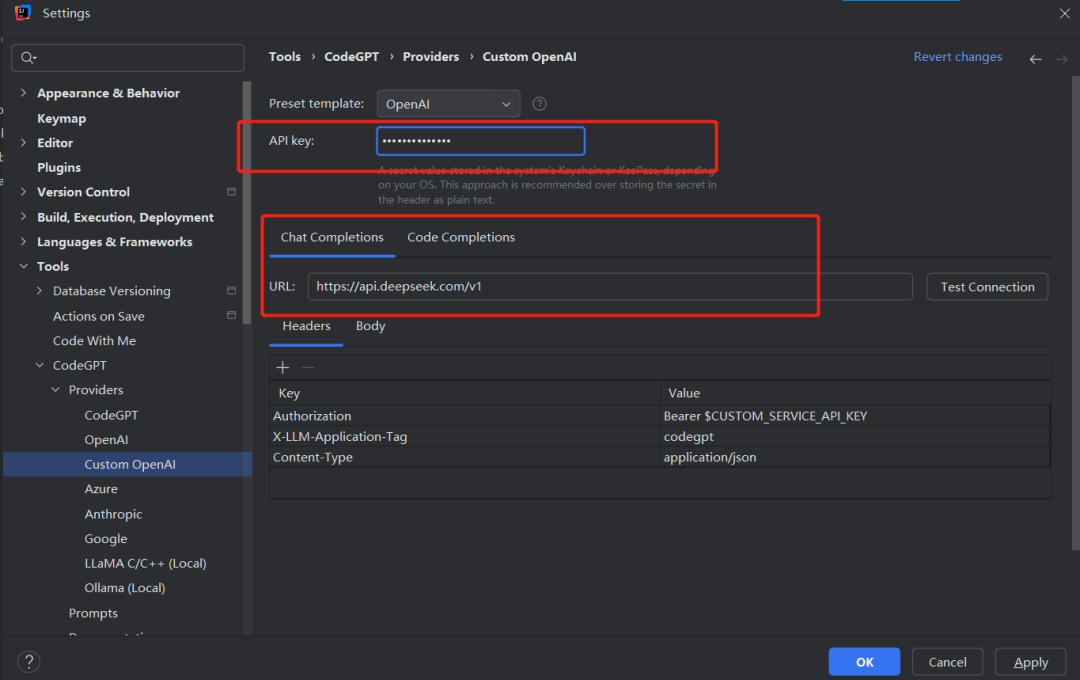
三,打开配置
在 settings 下面的 CodeGPT--Providers-Custom OpenAI 下的 URL 下修改链接:
https://api.openai.com/v1/chat/completions
下面我们需要修改这个链接,先保持不动。
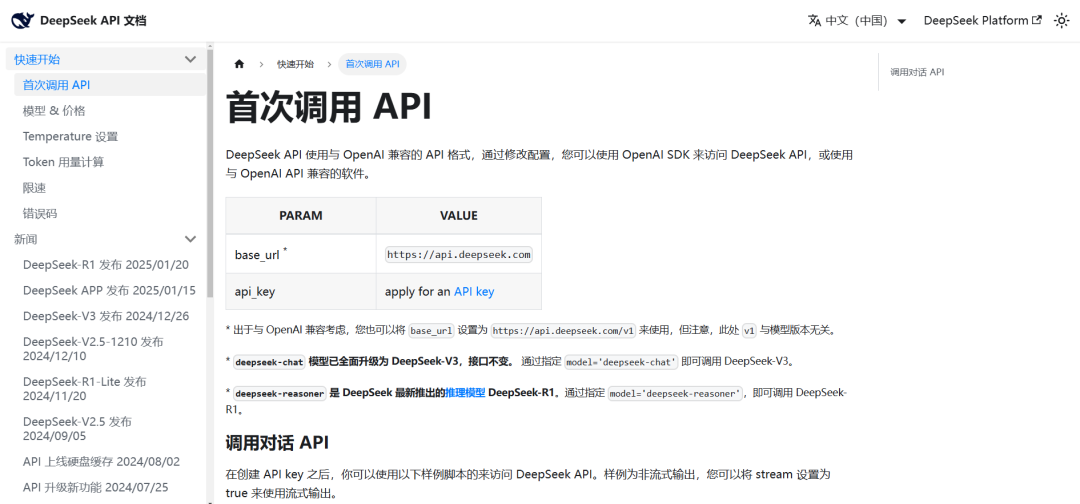
四,获取 DeepSeek 的 API 信息。
打开 DeepSeek 的 API 链接:
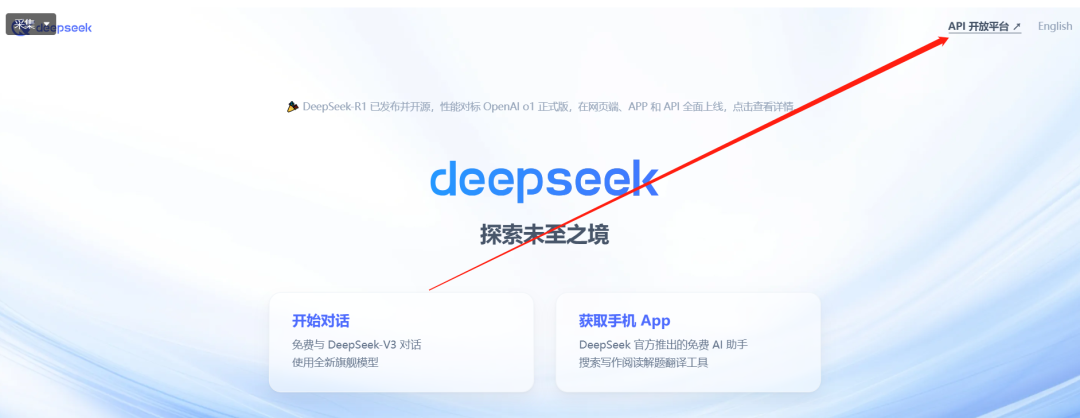
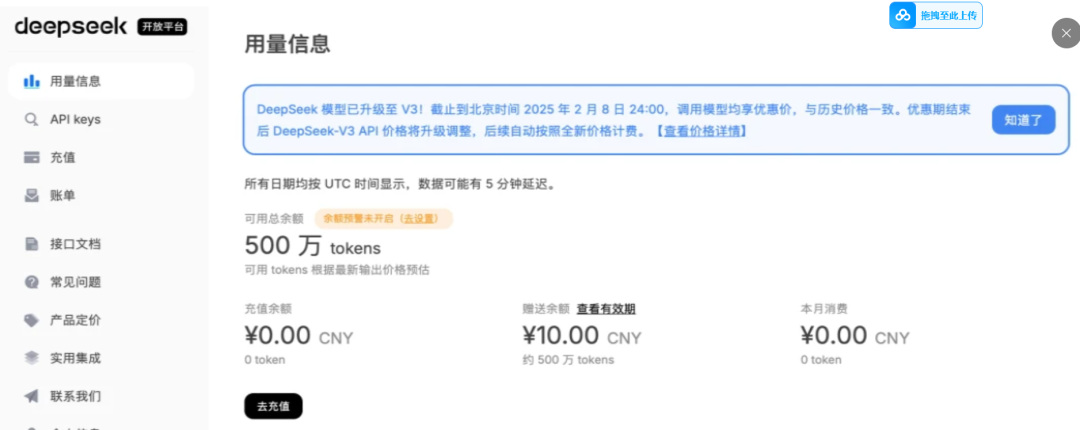
配置文档https://api-docs.deepseek.com/zh-cn/
API key:
填入 DeepSeek API key
URL:
填入 https://api.deepseek.com/chat/completions
一切搞定:

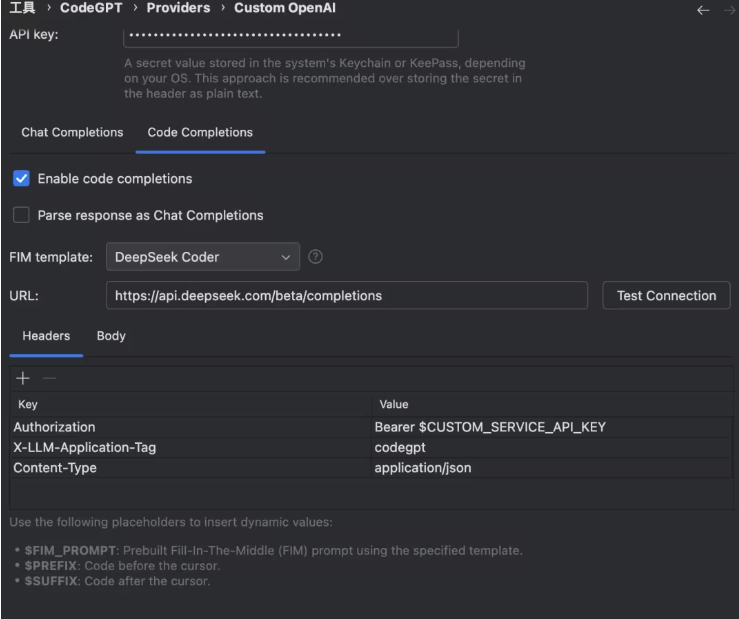
代码补全
FIM template:选择 DeepSeek Coder
URL:填入 https://api.deepseek.com/beta/completions
然后,切换到 选项卡,需要调整 为
同时在下方的模型,我们需要调整使用 ,则为:
输入 “开发一个登录页面”:

利用上述方法,已经可以完美的进行系统的开发,我已经开发出三个不错的系统。

还未添加个人签名 2022-04-10 加入
还未添加个人简介


评论