在我们之前的开发框架中,往往都是为了方便,对附件的管理都会进行一些简单的封装,目的是为了方便快速的使用,并达到统一界面的效果,本篇随笔介绍我们基于 SqlSugar 开发框架的 WPF 应用端,对于附件展示和控件的一些封装处理界面效果,供大家参考斧正。
1、回顾附件管理,Winform 端以及 VueElement 的前端界面效果
由于我们统一了附件的处理方式,底层同时支持多种上传方式,FTP 文件上传、常规文件上传、以及 OSS 的文件上传等方式,因此界面展示也是统一的话,就可以在各个界面端达到统一的 UI 效果,使用起来更加方便。
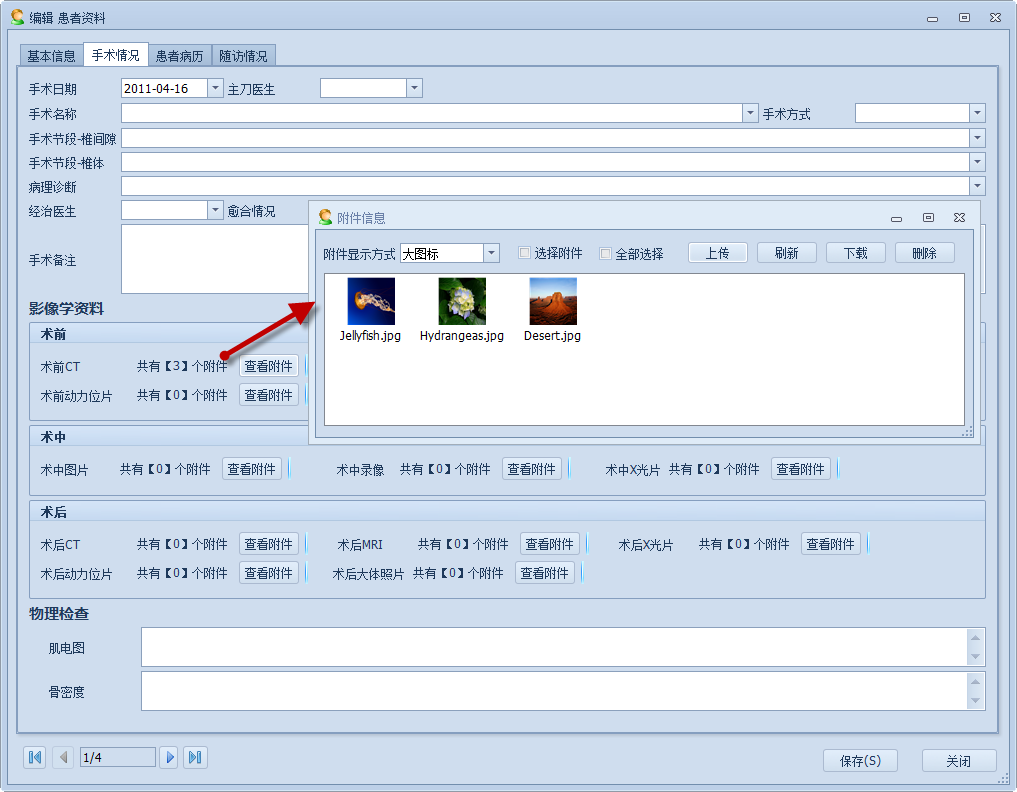
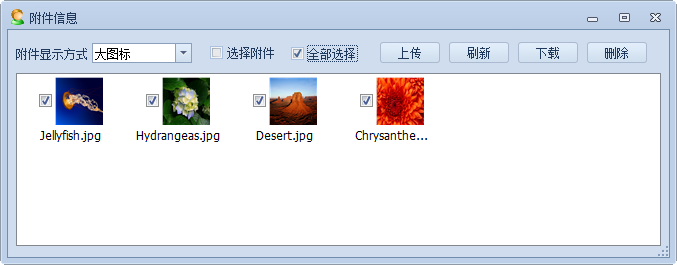
例如我们在 Winform 的系统界面中,编辑信息的一个界面里面分门别类管理很多影像学的图片资料,通过查看附件,可以看到其中一些图片附件的缩略图,需要进一步查看,可以双击图片即可实现预览效果。
上面的界面中,可以查看单项的附件数量,以及查看具体的附件列表信息。
由于 Winform 端的附件管理已经封装好控件了,所以在使用的时候,拖动到界面即可。
而对于 Vue+Element 的 BS 前端界面,我们也可以通过自定义组件的方式,实现统一的界面效果。
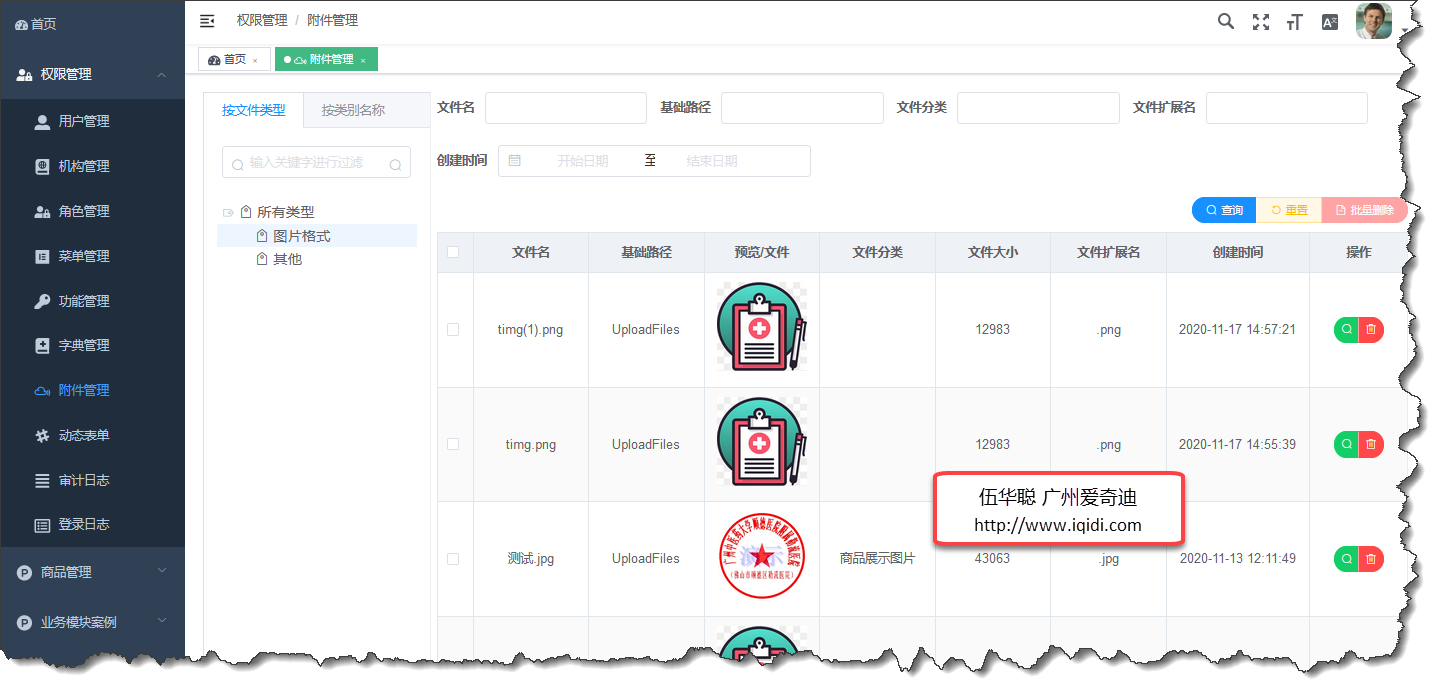
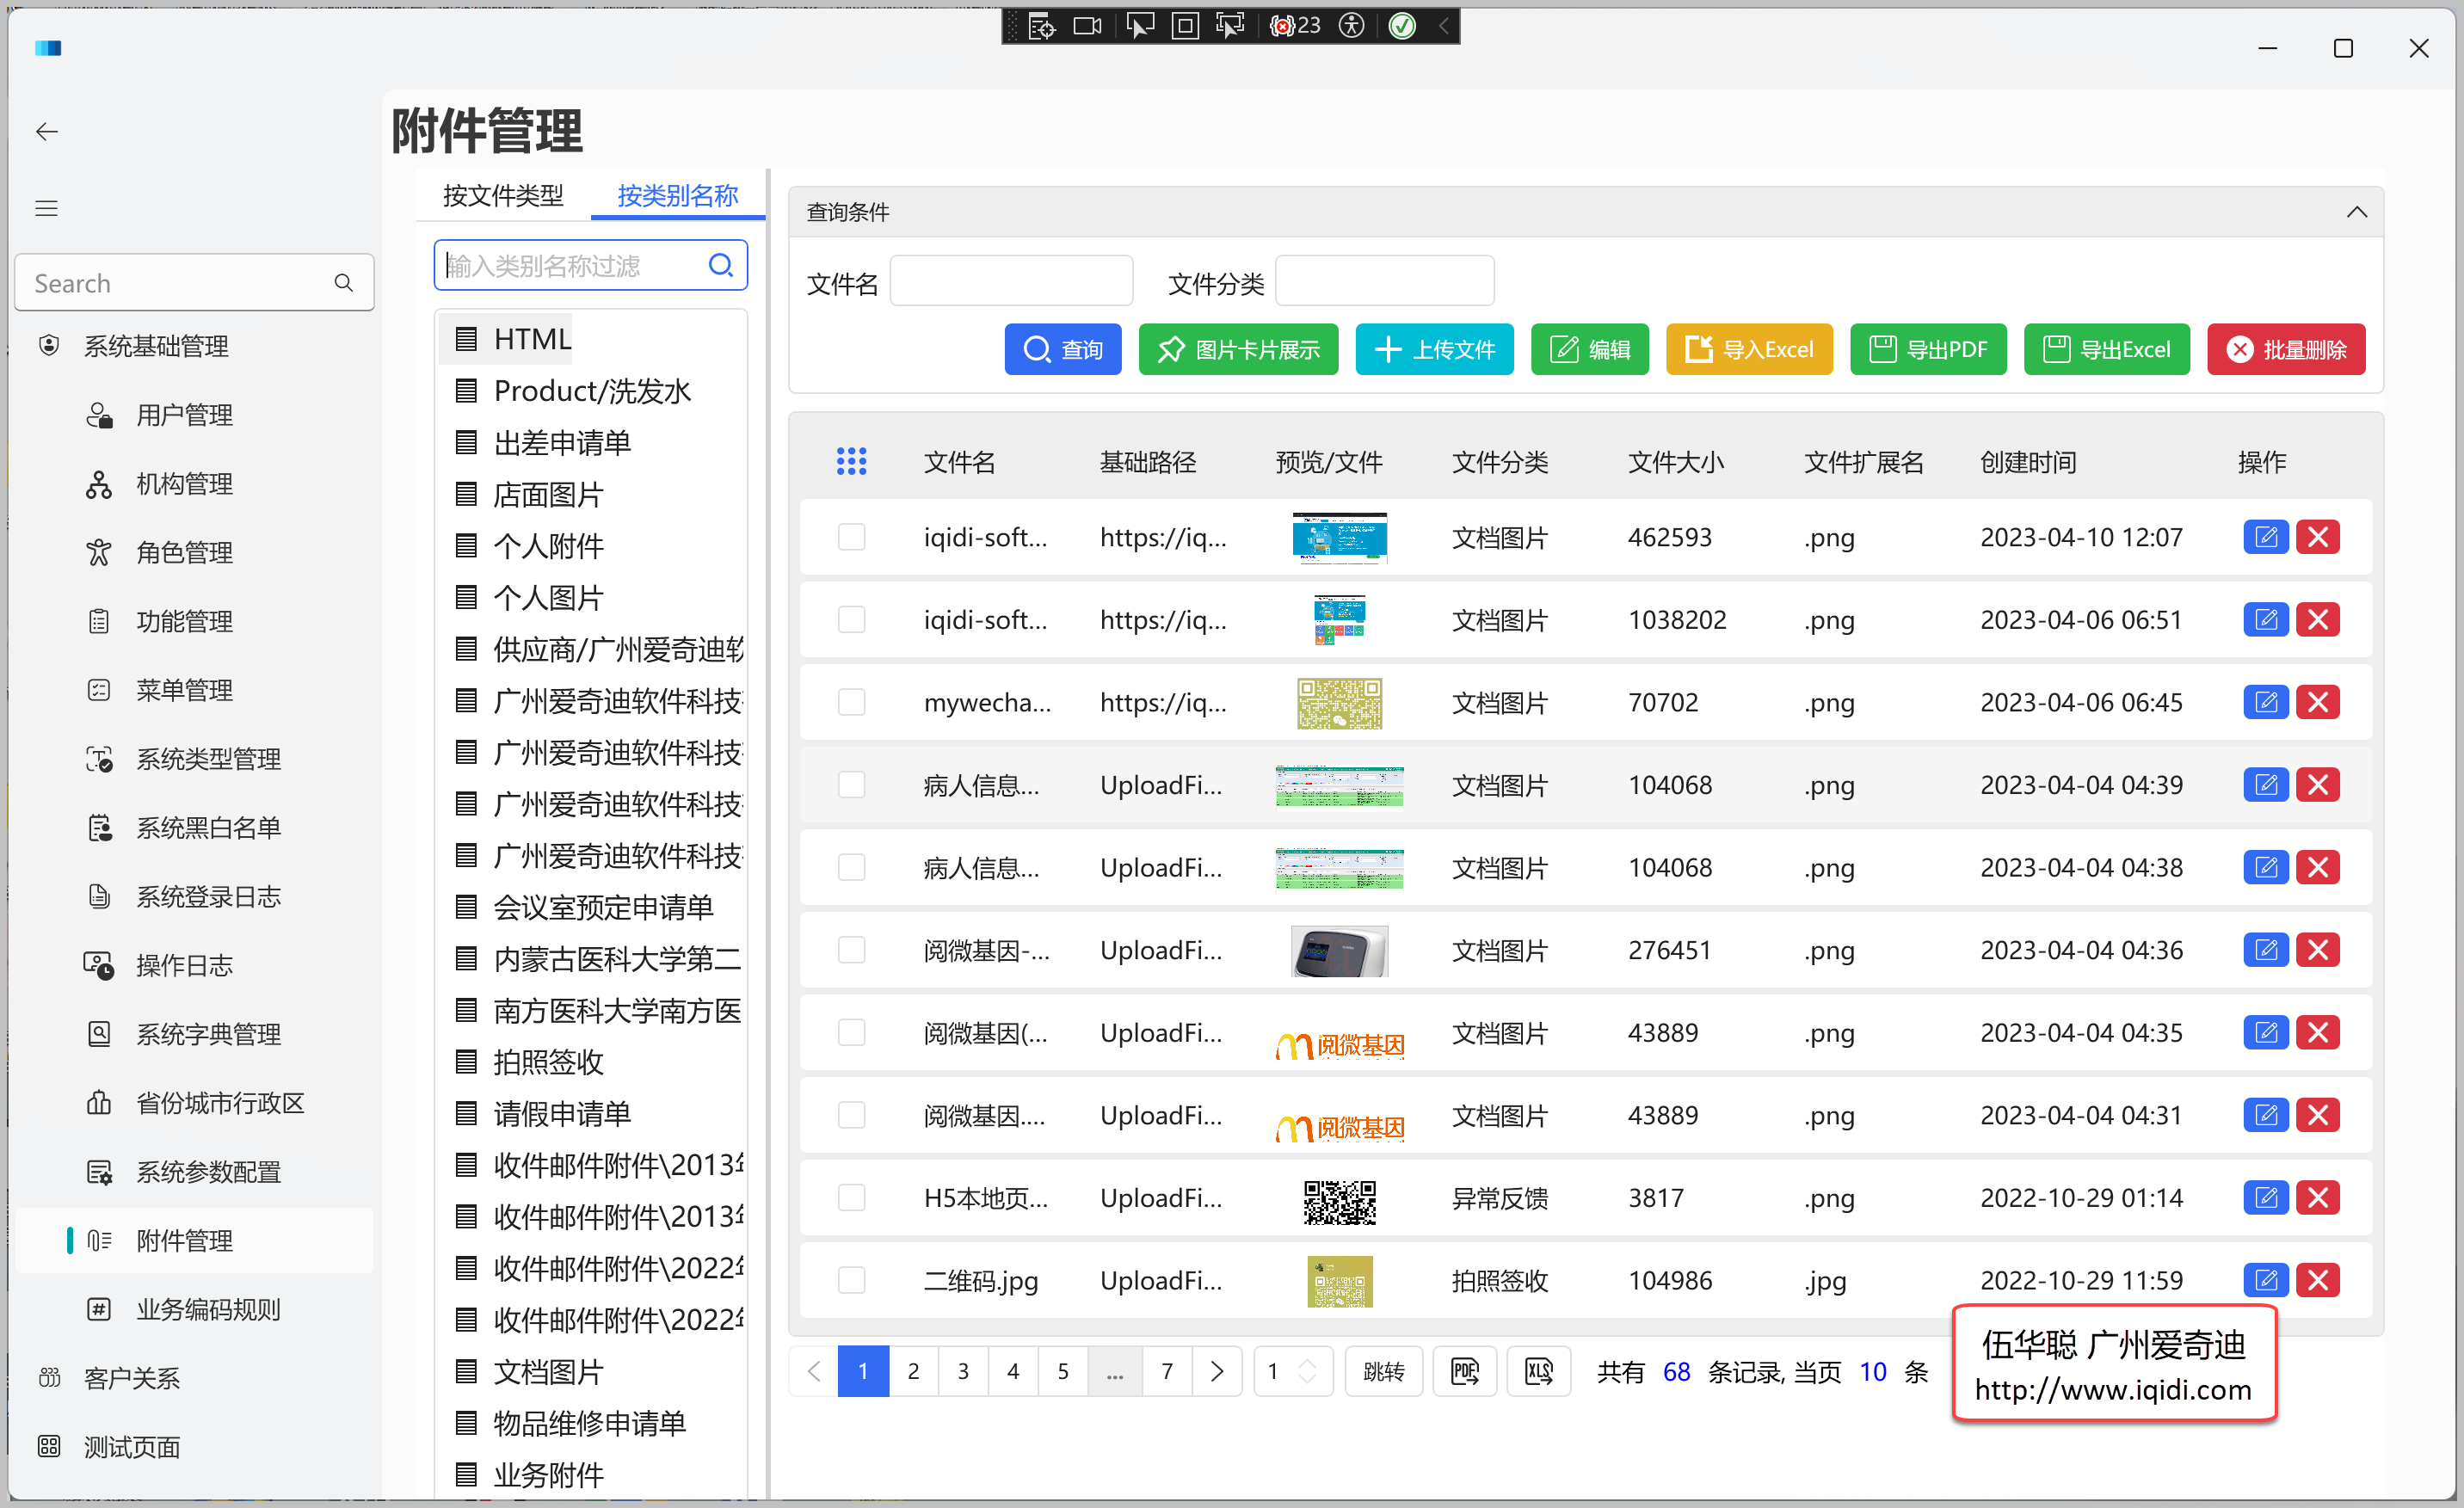
为了管理好这些附件图片等文件信息,我们在前端界面提供一些条件供查询,如下是 Vue3+Element Plus 的前端管理界面。
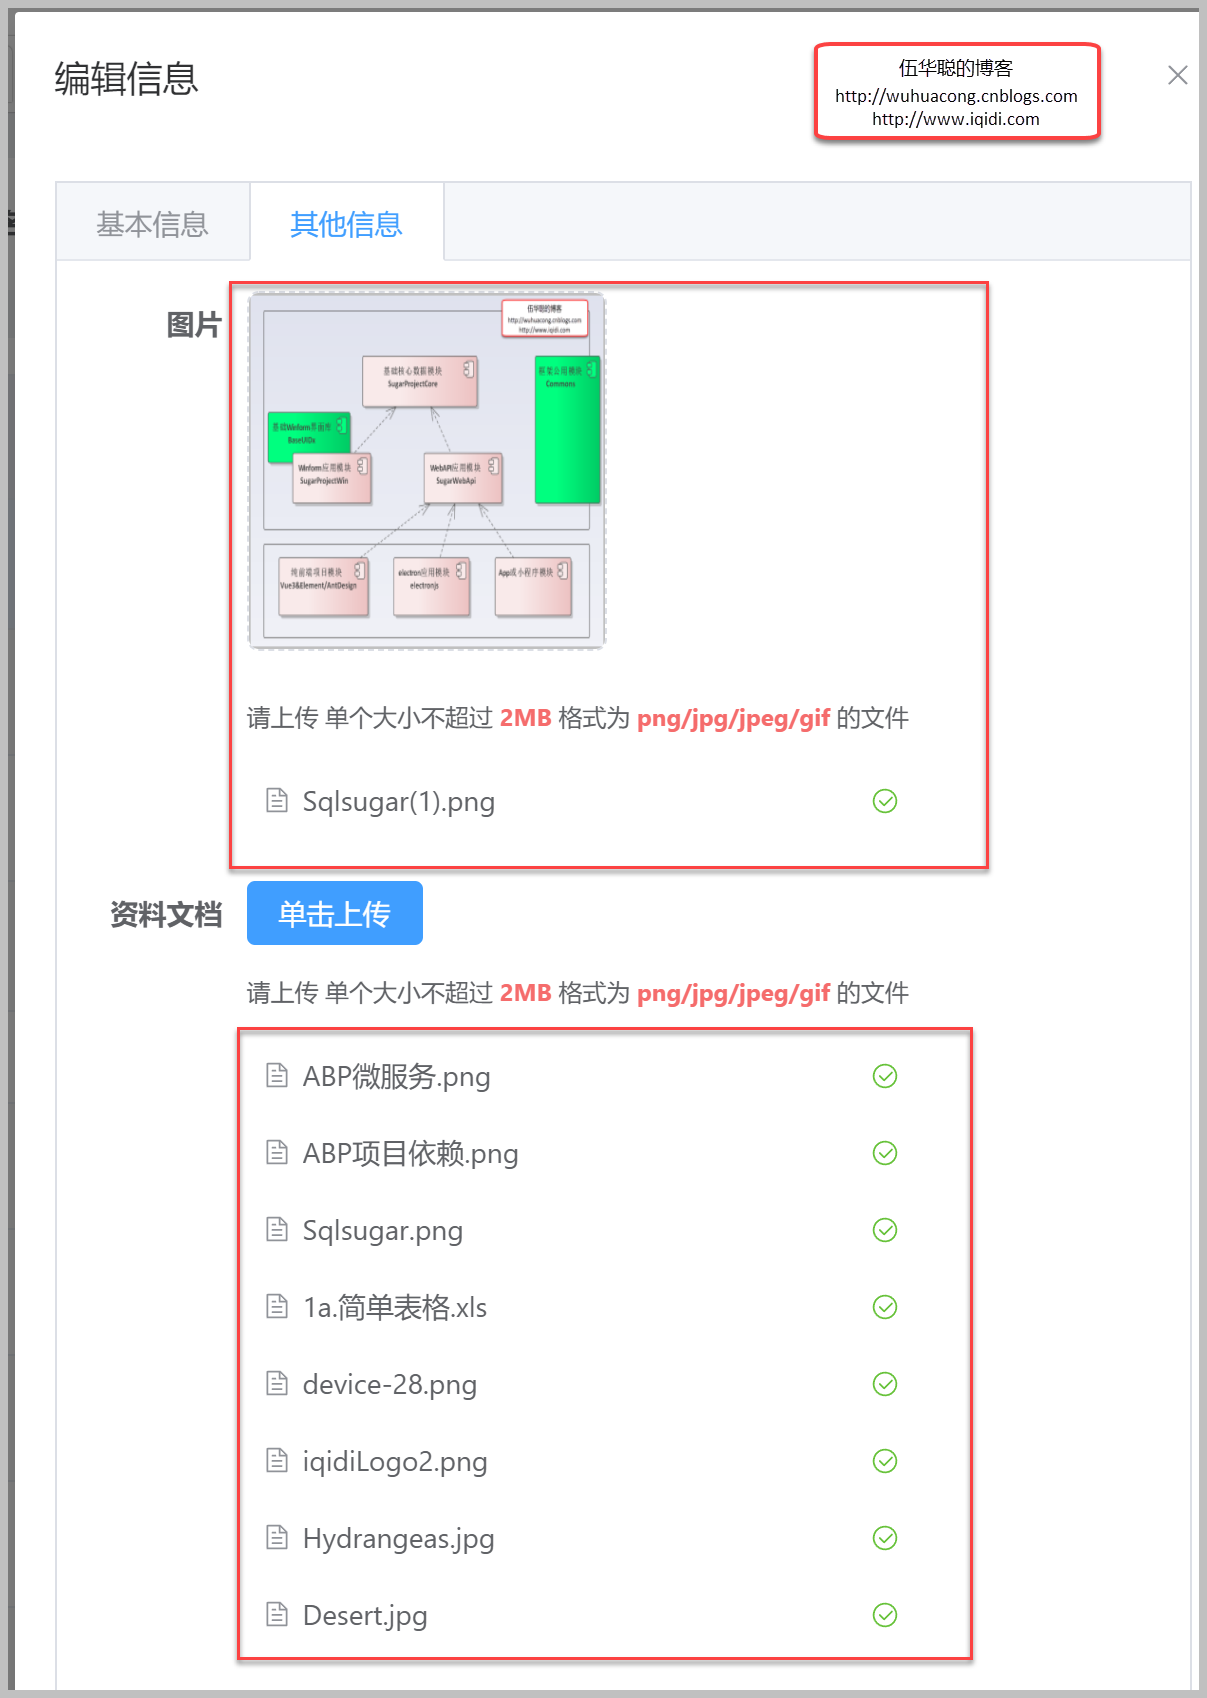
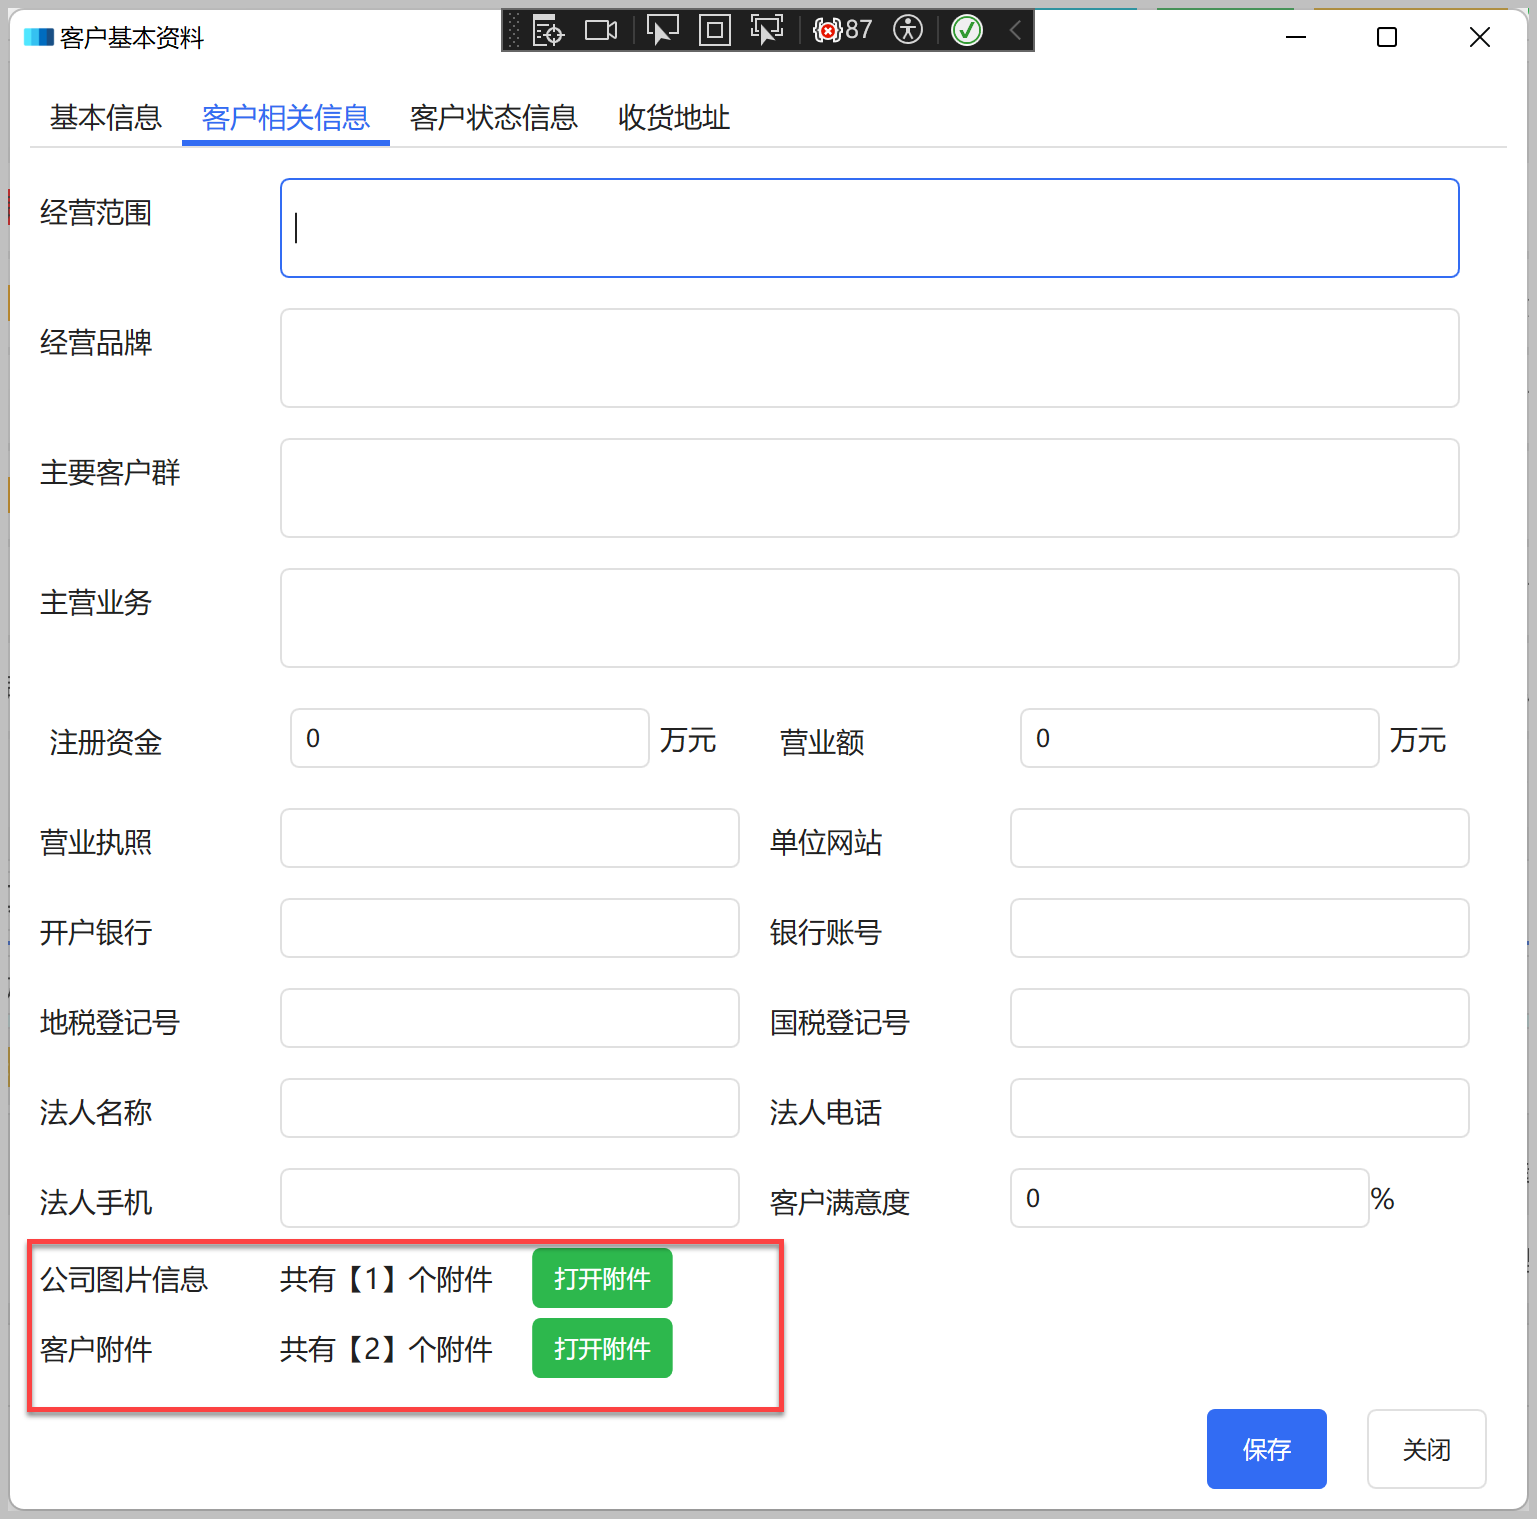
业务表单中展示附件的效果,用户界面展示如下所示。
2、WPF 应用端的附件管理界面
通过以上的界面参考,我们可以借鉴的用于 WPF 应用端的界面设计中,设计一些自定义组件,用来快速、统一展示附件信息,WPF 应用端的附件列表展示界面如下所示。
而业务表中的附件列表展示,我们参考 Winform 端的用户控件设计方式,先展示附件的汇总信息,然后可以查看具体的附件列表,如下界面所示。
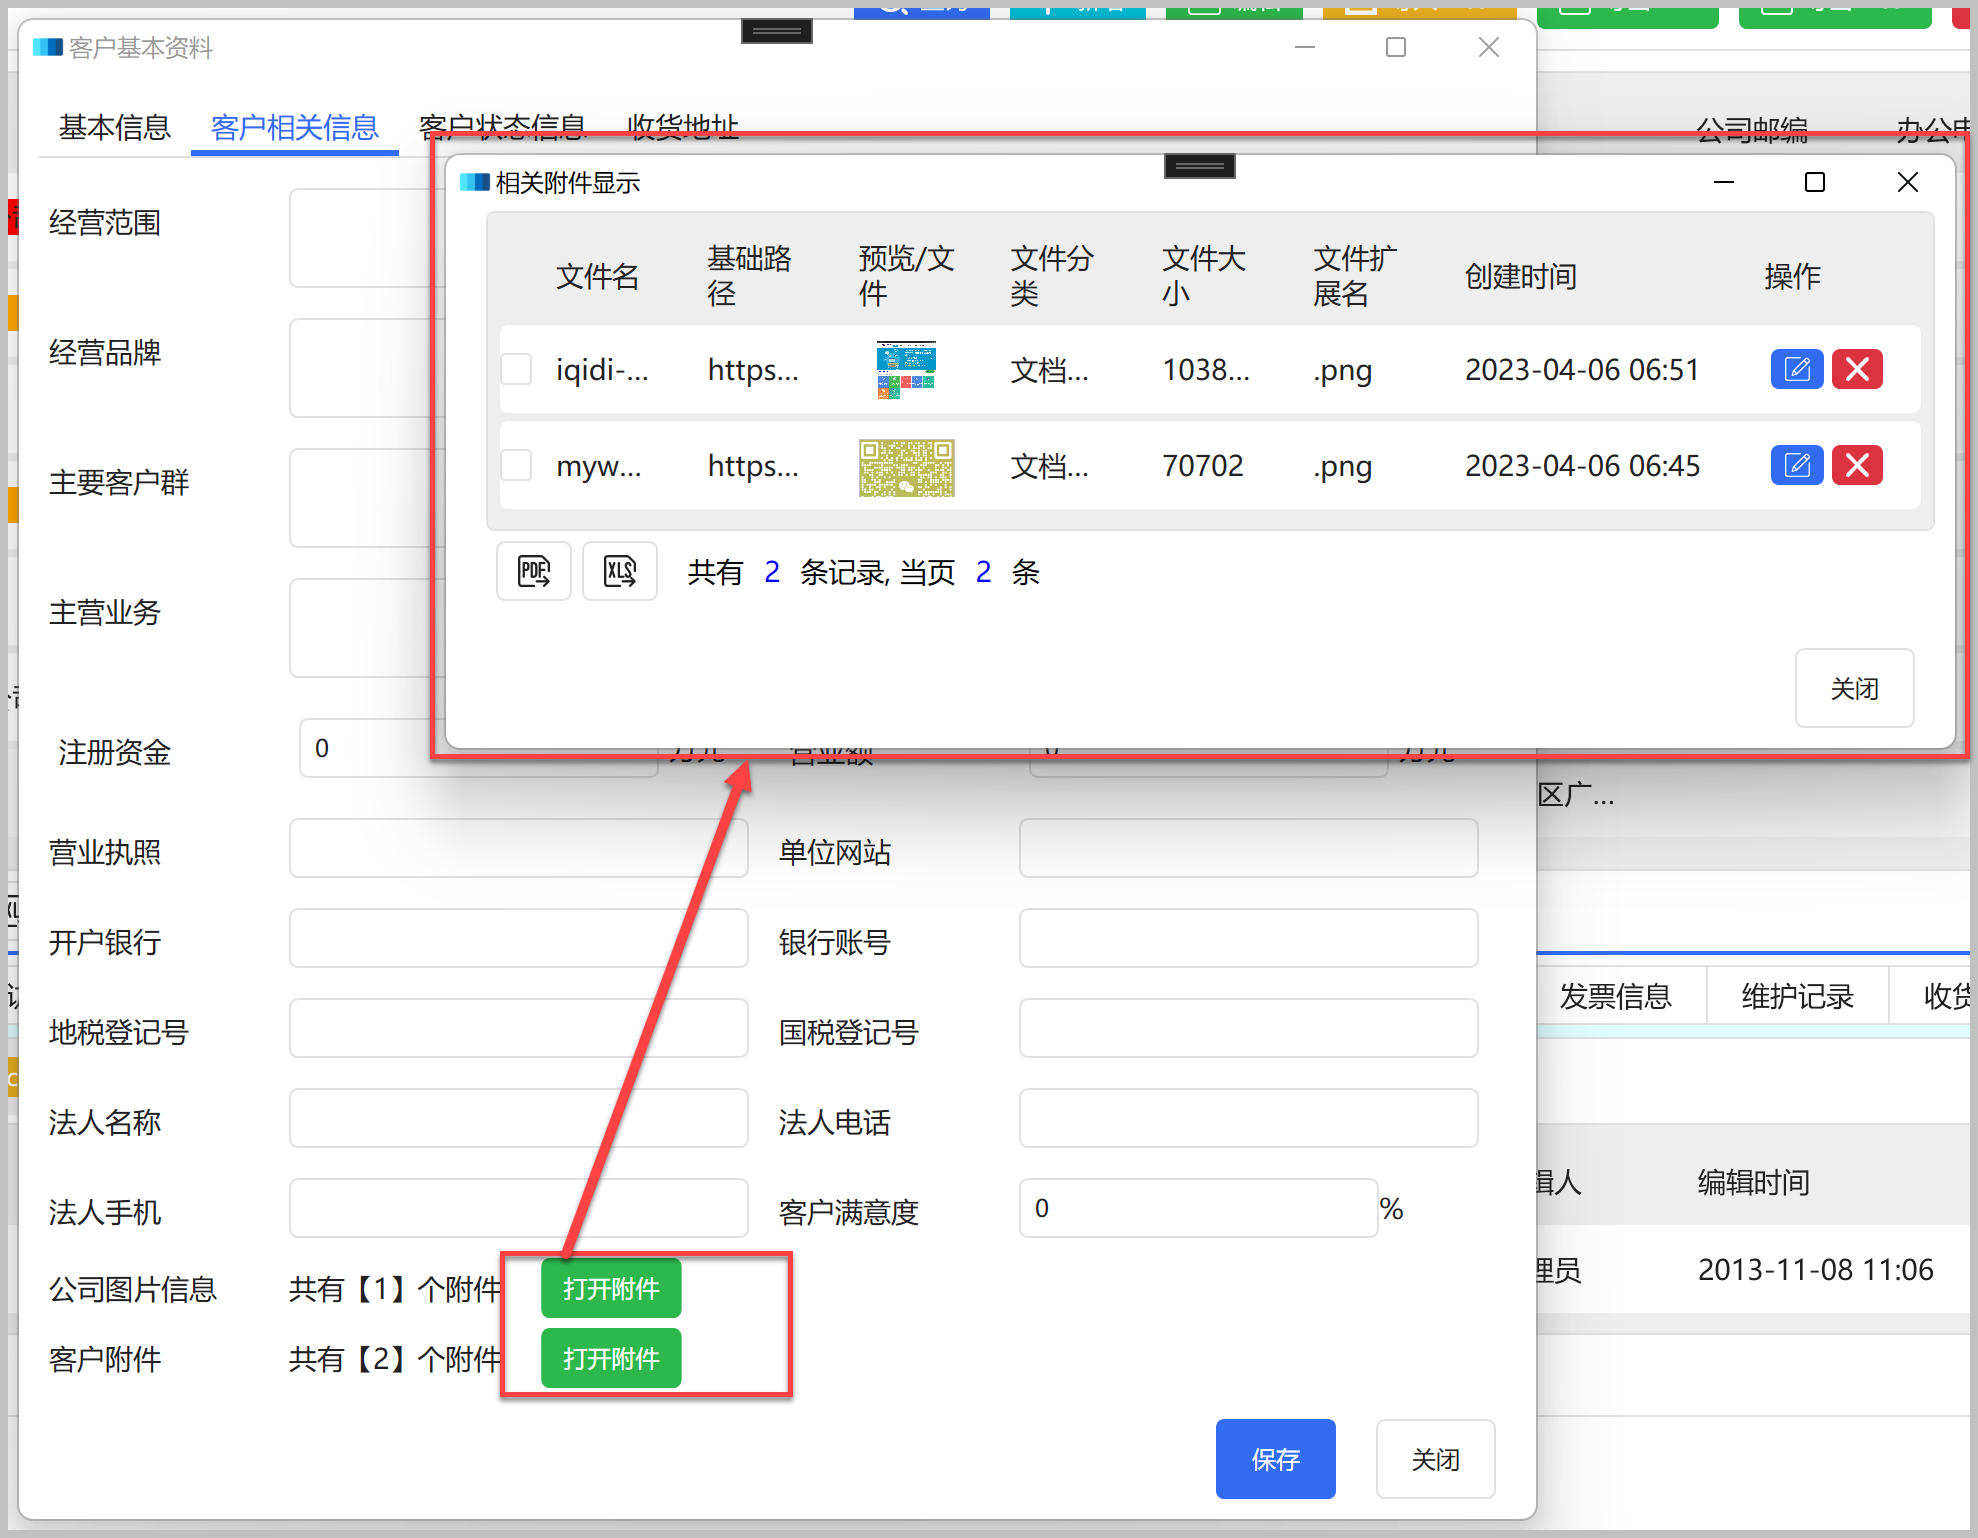
需要查看,可以单击【打开附件】进行查看具体的附件列表,如下界面所示。
用户控件的界面代码如下所示。
<UserControl    x:Class="WHC.SugarProject.WpfUI.Controls.AttachmentControl"    xmlns="http://schemas.microsoft.com/winfx/2006/xaml/presentation"    xmlns:x="http://schemas.microsoft.com/winfx/2006/xaml"    xmlns:core="clr-namespace:SugarProject.Core;assembly=SugarProjectCore"    xmlns:d="http://schemas.microsoft.com/expression/blend/2008"    xmlns:hc="https://handyorg.github.io/handycontrol"    xmlns:helpers="clr-namespace:WHC.SugarProject.WpfUI.Helpers"    xmlns:local="clr-namespace:WHC.SugarProject.WpfUI.Controls"    xmlns:mc="http://schemas.openxmlformats.org/markup-compatibility/2006"    Name="Attachmet"    d:DesignHeight="100"    d:DesignWidth="300"    mc:Ignorable="d">    <Grid Width="{Binding Width, ElementName=Attachmet}" MinWidth="250">        <Grid.ColumnDefinitions>            <ColumnDefinition Width="Auto" />            <ColumnDefinition Width="Auto" />            <ColumnDefinition Width="auto" />        </Grid.ColumnDefinitions>        <TextBlock            Grid.Column="0"            MinWidth="100"            Margin="5,0,10,0"            VerticalAlignment="Center"            Text="{Binding Path=Text, ElementName=Attachmet}" />        <TextBlock            x:Name="txtTips"            Grid.Column="1"            Margin="10,0,10,0"            VerticalAlignment="Center" />
        <Button            Grid.Column="2"            Margin="10,0,10,0"            VerticalAlignment="Center"            Command="{Binding OpenAttachmentCommand, ElementName=Attachmet}"            CommandParameter="{Binding Path=AttachmentGUID, ElementName=Attachmet}"            Content="打开附件"            Style="{StaticResource ButtonSuccess}" />    </Grid></UserControl>
复制代码
后端的代码和常规的自定义控件类似,定义一些属性名称,以及相关的事件处理即可,如下代码所示。
namespace WHC.SugarProject.WpfUI.Controls{    /// <summary>    /// AttachmentControl.xaml 的交互逻辑    /// </summary>    public partial class AttachmentControl : UserControl    {        private static string TipsContent = "共有【{0}】个附件";
        /// <summary>        /// 标题        /// </summary>        public string Text        {            get { return (string)GetValue(TextProperty); }            set { SetValue(TextProperty, value); }        }        public static readonly DependencyProperty TextProperty = DependencyProperty.Register(            nameof(Text), typeof(string), typeof(AttachmentControl),            new FrameworkPropertyMetadata("文本说明", FrameworkPropertyMetadataOptions.BindsTwoWayByDefault));

        /// <summary>        /// 附件组的GUID        /// </summary>        public string? AttachmentGUID        {            get { return (string?)GetValue(AttachmentGUIDProperty); }            set { SetValue(AttachmentGUIDProperty, value); }        }
        public static readonly DependencyProperty AttachmentGUIDProperty = DependencyProperty.Register(            nameof(AttachmentGUID), typeof(string), typeof(AttachmentControl),            new FrameworkPropertyMetadata("", FrameworkPropertyMetadataOptions.BindsTwoWayByDefault, new PropertyChangedCallback(OnAttachmentGUIDPropertyChanged)));

        private static async void OnAttachmentGUIDPropertyChanged(DependencyObject d, DependencyPropertyChangedEventArgs e)        {            if (d is not AttachmentControl control)                return;
            if (control != null)            {                var oldValue = (string?)e.OldValue;  // 旧的值                var newValue = (string?)e.NewValue; // 更新的新的值
                //更新数据源                await control.InitData(newValue);            }        }
        /// <summary>        /// 更新数据源        /// </summary>        /// <param name="attachmentGuid">附件GUID</param>        /// <returns></returns>        private async Task InitData(string attachmentGuid)        {            int count = 0;            if (!attachmentGuid.IsNullOrEmpty() && !this.IsInDesignMode())            {                var itemList = await BLLFactory<IFileUploadService>.Instance.GetByAttachGUID(attachmentGuid);                if (itemList != null)                {                    count = itemList.Count;                }            }
            //多语言处理提示信息            var newTipsContent = JsonLanguage.Default.GetString(TipsContent);            this.txtTips.Text = string.Format(newTipsContent, count);        }
        /// <summary>        /// 默认构造函数        /// </summary>        public AttachmentControl()        {            InitializeComponent();        }
        /// <summary>        /// 打开附件列表        /// </summary>        [RelayCommand]        private async Task OpenAttachment(string attachmentGuid)        {            var dlg = App.GetService<FileUploadViewPage>();            dlg!.AttachmentGUID = attachmentGuid;            if(dlg.ShowDialog() == true)            {                await this.InitData(attachmentGuid);            }        }    }}
复制代码
最后我们通过打开一个新的页面,展示附件列表即可,附件列表,可以通过代码生成工具快速生成,根据数据库结构生成相关的界面展示代码。
关于 WPF 应用端界面生成,有兴趣可以参考《循序渐进介绍基于CommunityToolkit.Mvvm 和HandyControl的WPF应用端开发(12) -- 使用代码生成工具Database2Sharp生成WPF界面代码》
界面生成后,合并到系统中即可使用。
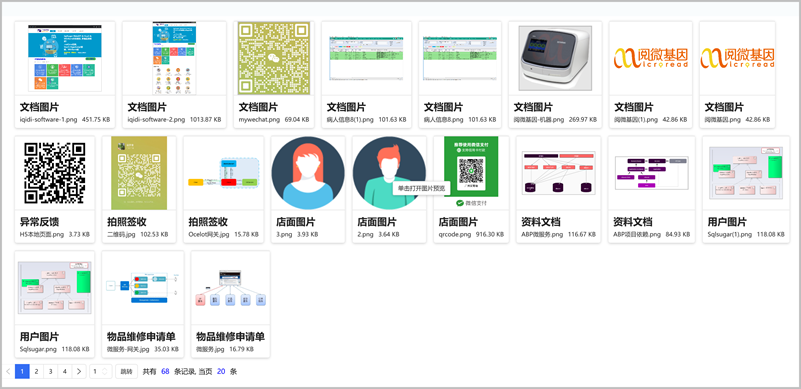
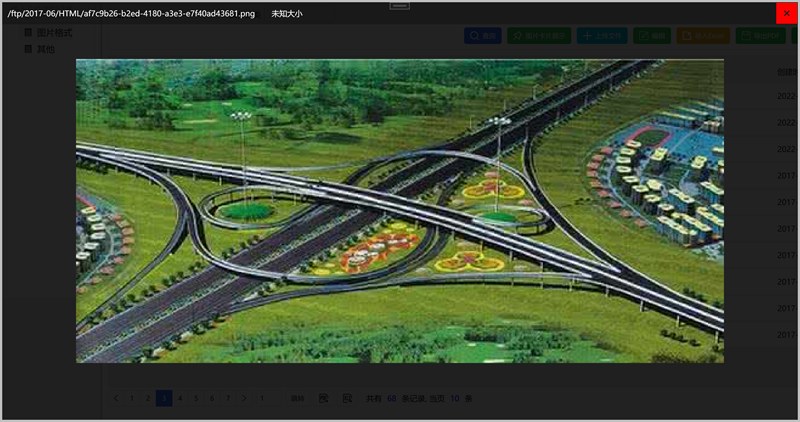
我们可以切换列表页面为图片列表的方式展示,如下界面所示。
如果是图片文件,我们提供一个预览的入口,利用 HandyControl 的图片预览控件 ImageBrowser 控件实现图片的预览处理。
<DataGridTemplateColumn Width="*" Header="预览/文件"> <DataGridTemplateColumn.CellTemplate> <DataTemplate> <StackPanel> <TextBlock Text="{Binding SavePath}" Visibility="{Binding IsImage, Converter={StaticResource Boolean2VisibilityReConverter}}" /> <Image Height="50" Margin="2" MouseLeftButtonDown="Image_MouseLeftButtonDown" Source="{Binding Converter={StaticResource FileUploadImagePathConverter}}" ToolTip="单击打开图片预览" Visibility="{Binding IsImage, Converter={StaticResource Boolean2VisibilityConverter}}" /> </StackPanel> </DataTemplate> </DataGridTemplateColumn.CellTemplate></DataGridTemplateColumn>
复制代码
预览的事件代码如下所示。
private void Image_MouseLeftButtonDown(object sender, System.Windows.Input.MouseButtonEventArgs e) { var image = sender as Image; if (image != null) { var path = ((BitmapImage)image.Source).UriSource.AbsoluteUri; var dlg = new ImageBrowser(new Uri(path)); dlg.ShowTitle = false; dlg.KeyDown += (s, e) => { if (e.Key == System.Windows.Input.Key.Escape) { dlg.Close(); } }; dlg.ShowDialog(); } }
复制代码
预览界面效果图如下所示。
以上就是我们在处理 WPF 端附件、图片列表的一些处理界面设计,以及一些操作过程。
文章转载自:伍华聪
原文链接:https://www.cnblogs.com/wuhuacong/p/17864501.html



评论