

一个前端的 Windows10 开发环境
原文原创于本人博客 原文链接 ,原文会不断更新
安装新版 PowerShell
GitHub“发布”页下载 msi 安装包, 安装后即可.
美化 PowerShell
打开 PowerShell 并输入以下命令安装 posh-git 和 oh-my-posh 这两个模块
优化ls命令的颜色,需要管理员权限运行
让 PowerShell 主题配置生效
新增(/或修改)你的 PowerShell 配置文件
如果之前没有配置文件,就新建一个 PowerShell 配置文件
用记事本打开配置文件
在其中添加下面的内容
安装 choco
安装ConEmu
安装Scoop
在 PowerShell 中输入下面内容,保证允许本地脚本的执行:
set-executionpolicy remotesigned -scope currentuser
然后执行下面的命令安装 Scoop:
iex (new-object net.webclient).downloadstring('https://get.scoop.sh')
静待脚本执行完成就可以了,安装成功后,执行下面命令查看帮助文档:
scoop help
添加加 Nerd font的仓库
scoop bucket add nerd-fonts
这里有 scoop 社区支持添加的仓库列表
如果没有git,会提示你顺便先安装git,按照提示安装就行。
安装字体
安装 Windows terminal
首先安装 Windows terminal ,在 Microsoft store 里搜索 Windows terminal, 现在还是 preview 的版本
修改 Windows Terminal 配置
点击 Windows Terminal 顶栏的下拉箭头按钮,选择Settings, 按需要修改成下面配置。
修改后保存即可看见效果。
添加自定义主题
在 powershell 中输入:
$Themesettings
会输出下面信息:
CurrentThemeLocation 即是现在主题的地址,在该目录下
C:\Users\Administrator\Documents\WindowsPowerShell\Modules\oh-my-posh\2.0.379\Themes\新建一个文件SpencerTechy.psm1
填入一下内容
或者在这个地址下载
保存后,在 PowerShell 中输入notepad $PROFILE
修改最后一行的
Set-Theme Paradox改为Set-Theme SpencerTechy,保存
另一个好主题 Powerlevel10k
https://github.com/romkatv/powerlevel10k
Oh My Zsh 版的安装方法.
在~/.zshrc里加上
安装 WSL
在微软应用商店里搜索 Ubuntu 安装即可,安装完成后会在 Windows 任务栏搜索 bash 即可进入 Ubuntu 环境。
初次进入 WSL 会立刻安装 Ubuntu 然后提示添加用户和密码, 按照提示输入即可.
键入以下命令安装环境:
安装Oh-my-zsh
oh-my-zsh首页在这:
https://github.com/ohmyzsh/ohmyzsh
安装完成后在设置默认 SHELL 时会出现了问题。
Linux 下设置默认 SHELL 方法如下:
但重新在 CMD/POWERSHELL 上进入 WSL ,默认的 SHELL 还是 bash ,需要手动执行$ zsh才能进入。
于是在 Google 上查了一下,发现在 Microsoft 的 Github 上面有一个提交 Bug 的 Repository:Microsoft/WSL 上有一个 issue:
can’t change default shell #477
出现这个问题的原因是在启动 WSL 时没有执行 login 相关的组件,而这些组件和设置默认 SHELL 有关。
解决方法
打开 ~./bashrc 添加下列代码进去并保存即可。
下载 oh-my-zsh 的 powerlevel9k 主题
编辑 .zshrc
找到 ZSH_THEME
添加下面内容
重启 bash 可以生效.
或者用上一节的 Powerlevel10k 更简单.
WSL 下安装 Python
安装 Pyenv
Pyenv官网: https://github.com/pyenv/pyenv-installer
输入下面命令安装:
在 .zshrc 或者 .bashrc 中添加下面3行
输入exec $SHELL生效.
使用 pyenv 安装 python 3.6.6
如果提示no acceptable C compiler found in $PATH, 那就先安装依赖
安装完成后先创建虚拟环境, 执行命令:
它的格式就是这样固定的,最后一个是你自己想要的环境的名字,可以随便取。稍等片刻,你将会看到:
类似于这样的回显信息,说明环境已经创建成功了,它还告诉了你,该虚拟环境的绝对路径,如果你进去看了,你就会发现,所谓的虚拟环境,就是把 python 装在 pyenv 的安装目录的某个文件夹中,以供它自己调用。
在任意目录下,执行命令激活虚拟环境:
你会发现,在你的终端里面,多了一个类似于 (my-env) 这样的一个东西,这时候你如果执行:
会显示python 3.6.6, 证明 python 已经安装好了.
安装 NVM
NVM 官网:https://github.com/nvm-sh/nvm
直接在官网获得下面命令输入以安装:
在.bashrc或者.zshrc中添加下面两行.
安装激活 Node 12
安装 Yarn 和 tyarn
安装 mobaXterm
Windows 下的 SSH 工具
下载个人用的免费版本即可,在 Settings -> SSH -> SSH Settings 把 SSH keepalive 勾上。
安装 VScode
设置
设置默认显示空格和tab符号
打开VScode,左上角 文件 -> 首选项 -> 设置,搜索栏里搜索关键字whitespace 在Editor: Render Whitespace里选择all。
安装插件
indent-rainbow 让空格加上颜色,看上去更容易对齐;
Bracket Pair Colorizer 用于着色匹配括号;

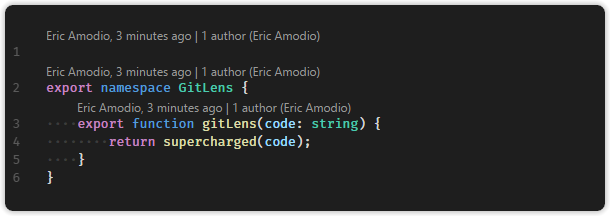
GitLens git日志查看插件
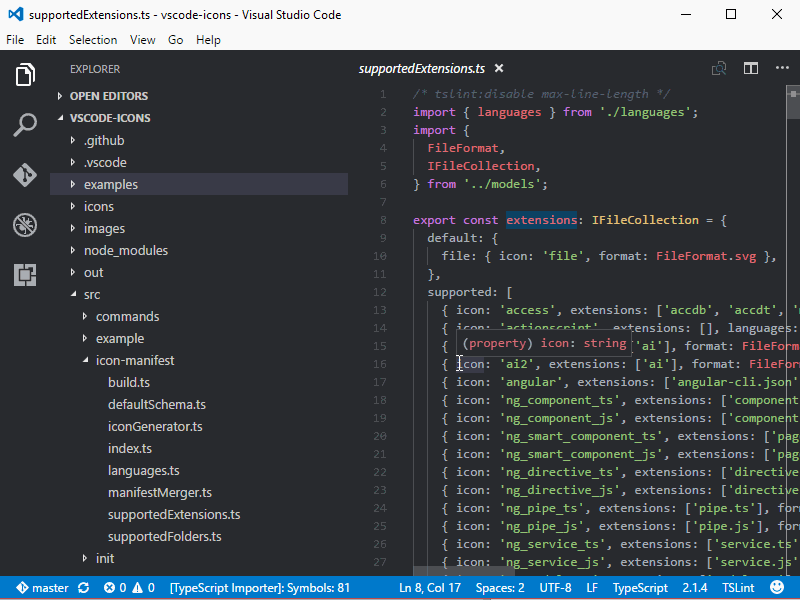
vscode-icons 目录图标
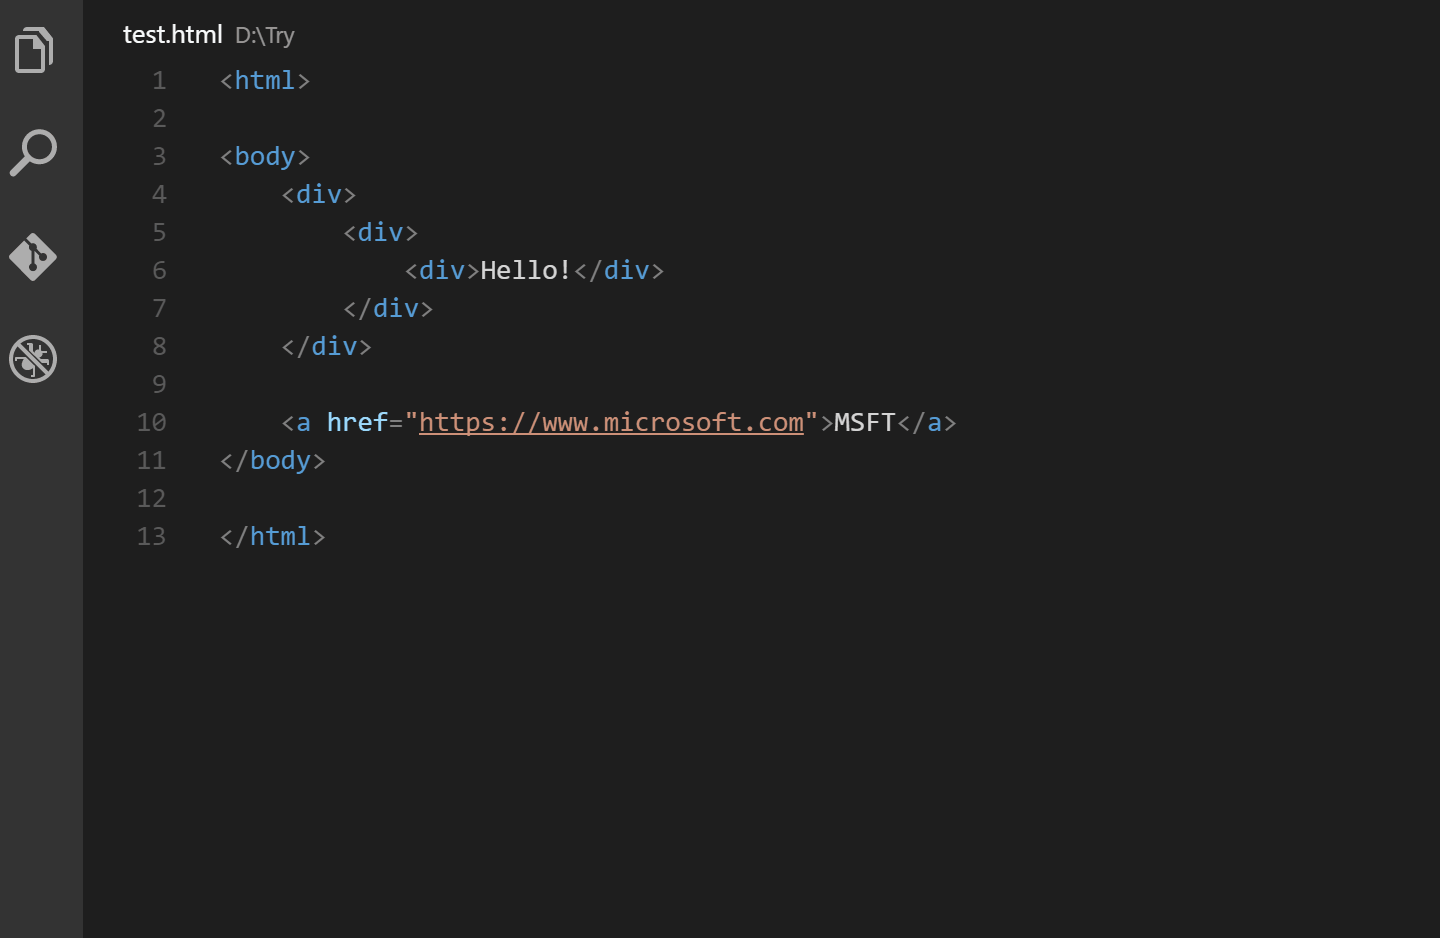
Atuo Rename Tag 修改 html 标签,自动帮你完成头部和尾部闭合标签的同步修改;
beautify 格式化代码工具
美化javascript,JSON,CSS,Sass,和HTML在Visual Studio代码。
vetur vue代码高亮插件
ESLint Javascript代码规范工具
Vue VSCode Snippets 前端框架Vue.js快捷代码助手
Live Server 一个可热加载的页面开发服务器
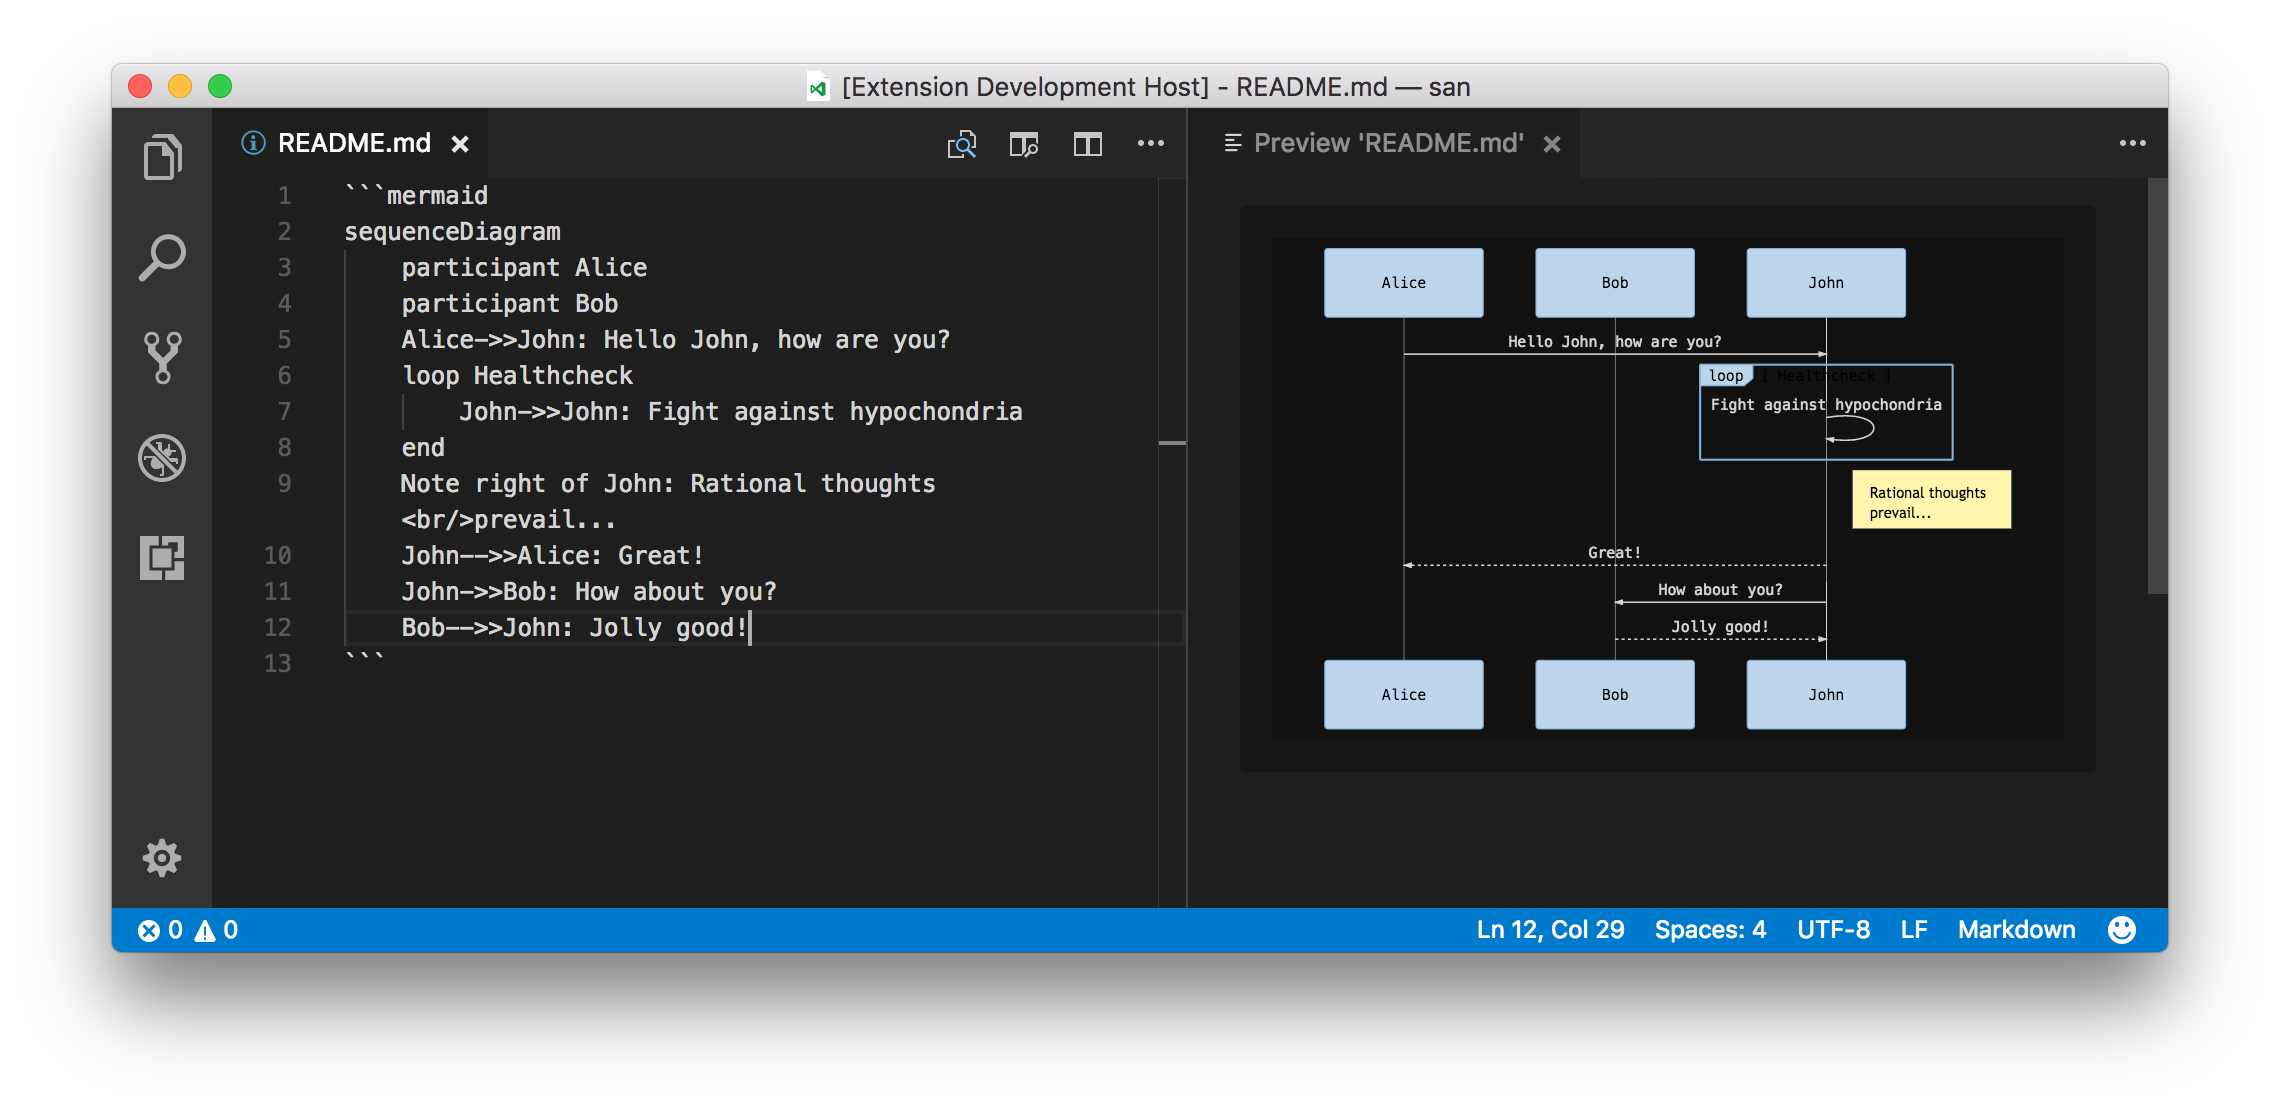
Markdown All in One Markdown的加强插件,支持快捷键、表格、自刷新预览
Markdown Preview Mermaid Support 让Markdown支持插入 Mermaid 流程图 和预览。
安装 VScode 主题
安装JetBrain Mono字体
JetBrains Mono 字体是 JetBrains 开源的字体, 专门为程序员长期专注观看代码而设计, 各个字母数字辨识度非常高, 能很好地分清1LI, 有效减少疲劳.
官网下载 https://www.jetbrains.com/lp/mono/
下载安装后, 在 VS Code 文件->首选项->设置里搜索Font Family项设置字体, 或者在Font Ligatures项点击Edit in setting.json(在setting.json里编辑)并在{}内按需增量输入以下内容.
**editor.fontLigatures** 一定要有, 不然连字效果不会显示.
安装 Edge
最新的Edge是基于Chromium的,所以支持直接安装Chrome的插件,官网下载安装
插件
Proxy SwitchyOmega 网络调试代理插件
Talend API Tester - Free Edition Restful API调试工具
Postwoman Extension for Chrome Postwoman API调试工具,[Demo页](https://postwoman.io/)可以直接作为PWA使用,调试http页面需要使用自带的代理,[Github](https://github.com/liyasthomas/postwoman)
Charset 改变页面的编码,Google Chrome在55版本以后删除了手动设置网站编码的功能。但是在部分设置不规范不正确的网站,新版浏览器无法准确判断其使用的编码,导致网站显示乱码。
在浏览器可用的VSCode: code-server
https://github.com/cdr/code-server
设置访问密码
把{YOUR_CODE_SERVER_PASSWORD}替换成密码即可
可以放到~/.bashrc或者~/.zshrc里
运行
在浏览器里访问{服务器 IP 地址}:{code-server 端口}, 例如在本机访问localhost:8080(code-server 默认监听 8080 端口)
iOS 上使用 VSCode remote
版权声明: 本文为 InfoQ 作者【Gadzan】的原创文章。
原文链接:【http://xie.infoq.cn/article/bcd05605741728724e26f0895】。
本文遵守【CC-BY 4.0】协议,转载请保留原文出处及本版权声明。

头像是我最爱的 Gakki 2017.11.23 加入
一个普通的全干工程师


评论